


Thanks to a partnership with Cloudflare, our customers can enable and control Cloudflare inside their cPanel account.
Before continuing, make sure your domain name is active in your cPanel account and that the domain’s nameservers are pointing to the nameservers specified in your account welcome email. If you are unsure of where your domain is pointing, please contact our support team for assistance.
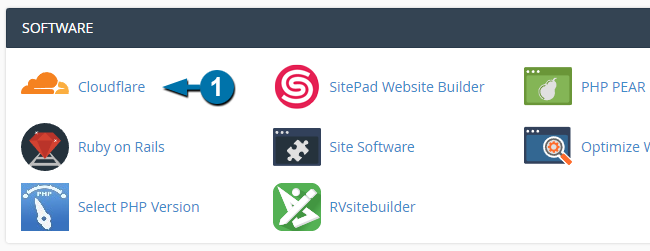
1. Click the Cloudflare icon in cPanel: cPanel > SOFTWARE > Cloudflare.
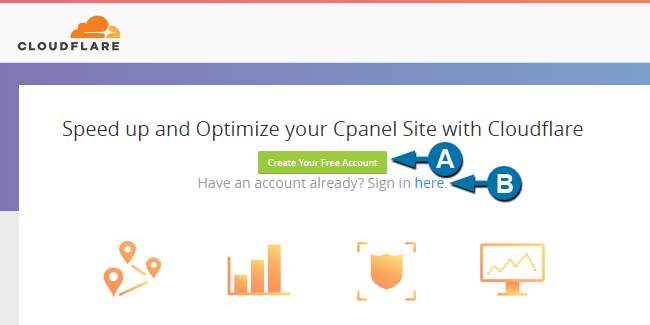
2. Sign up for Cloudflare or Log into an existing account.
If this is your first time using Cloudflare, click the “Create Your Free Account” button (A).
- Do not enter your domain in the pop-up window.
- In the new window that opens, provide your email address and password, and click on the “Create Account” button.
- Close the pop-up window and return to cPanel.
Log into your new or existing Cloudflare account using the “Sign in here” link (B).
Enter your login credentials on the page that appears.
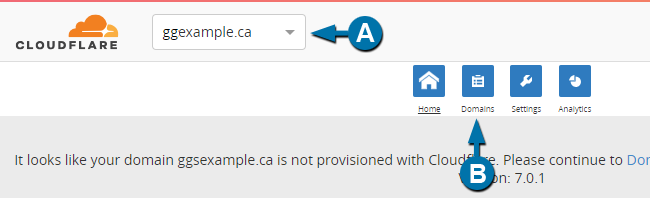
3. Once you are logged into the Cloudflare section of cPanel, select your domain name from the drop-down (A) and click the “Domains” icon (B).
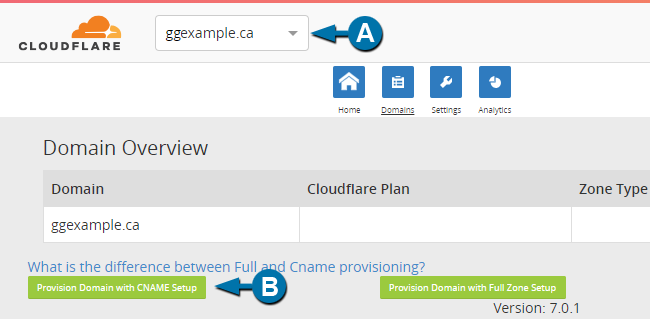
4. On the Domain Overview page, make sure that the domain you want to set up on Cloudflare (A) is still selected, and click the “Provision Domain with CNAME Setup” button (B).
5. If there were no errors and the domain was successfully added to Cloudflare, the page will refresh and display the DNS records for your domain name (if you do experience errors, please contact our support team for assistance).
The contents of this page can vary from domain to domain, but generally, what you want to see here is the green ‘On’ Cloudflare icon on two CNAME entries: your domain name and the www subdomain.
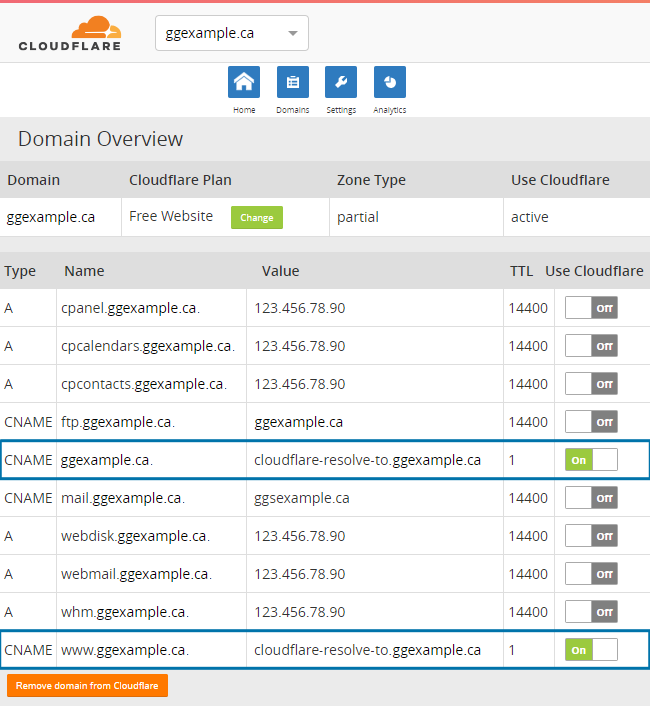
You can turn on Cloudflare for additional subdomains if you have them configured (e.g., store.yourdomain, blog.yourdomain, etc.), however, we do not recommend turning on Cloudflare for any of the other records listed in the above image.
