You may have seen a warning similar to this one when trying to log in to cPanel or WHM on your VPS or dedicated server:
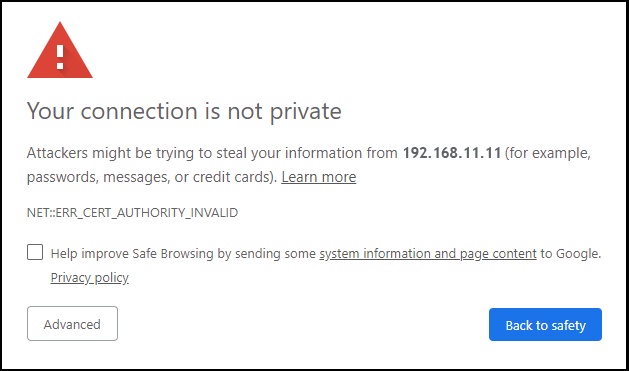
The warning means that there is no SSL certificate installed for the server hostname, or the server is using a self-signed certificate.
What Is a Self-Signed SSL Certificate?
Normal SSL certificates are issued by a third party certificate authority. They are verified by a third party to confirm your server is who it says it is, allowing visitors to connect to your server or website via an encrypted connection.
A self-signed certificate, on the other hand, is not verified by a third party. Your server issues its own SSL certificate so that it may serve encrypted HTTPS access to visitors. There is no third-party verification of whether you are connecting to a trusted server.
Self-signed certificates cause modern web browsers to display a warning (similar to the warning above) or SSL connection error when visiting websites that use them. The warning is meant to prevent sites from establishing encrypted connections using a certificate from another domain to trick users into submitting personal information.
Is It Safe to Bypass the Warning?
When connecting to your VPS or dedicated server that does not have an SSL certificate installed for the server hostname, or if you are using a self-signed certificate, you can safely bypass the warning. The steps for bypassing the warning will vary by browser, but they will be shown to you when the warning is triggered.
In Google Chrome, click the “Advanced” button, then the “Proceed to…. (unsafe)” link.
In Firefox, you will be prompted to manually add the certificate to your local browser’s set of trusted certificates.
If you are connecting via FTP, SFTP, IMAP, POP3, SMTP, etc., your FTP or email program will prompt you with the steps to accept the warning and proceed.
How to Fix the Problem So the Warning Is Not Shown
To stop the warning, you must set up a verified SSL certificate for your server hostname. We offer SSL certificates as service add-ons, and we can handle the entire installation process for you if you have cPanel/WHM installed on your VPS. Here’s more information on setting up an SSL certificate. When ordering your SSL certificate, your server hostname will be used as the domain. Just mention “server hostname SSL” when contacting our sales team and we’ll guide you from there.
Alternatively you can enable AutoSSL in WHM. AutoSSL provides free SSL certificates for hosting accounts with the VPS hostname.
Please note that we cannot provide support for issues with SSL certificates we have not installed/configured, so the AutoSSL certificates described below are unsupported. Consult the AutoSSL documentation if you run into any problems using the feature.
To enable AutoSSL, Log in to your Account Manager and go to WHM by clicking the “WHM Login” button in the “Quick Server Login” section.
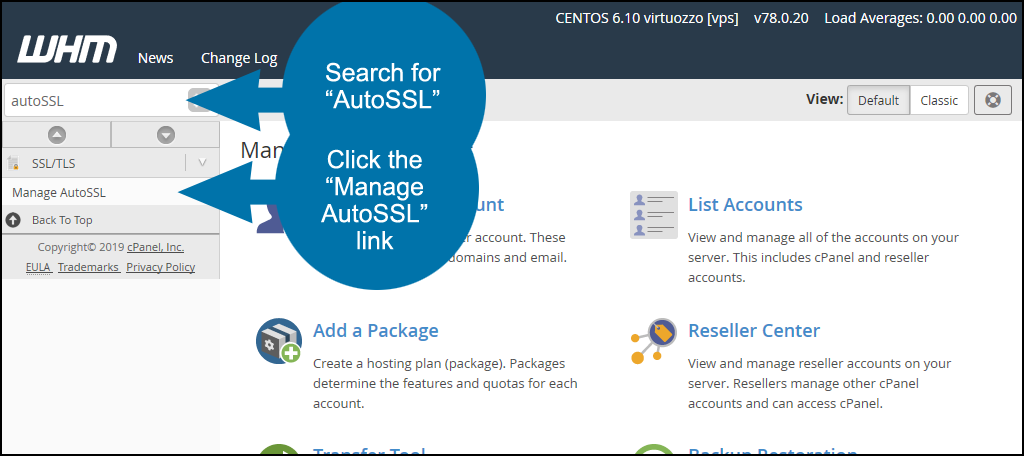
In WHM, search for “AutoSSL,” and click the “Manage AutoSSL” link.
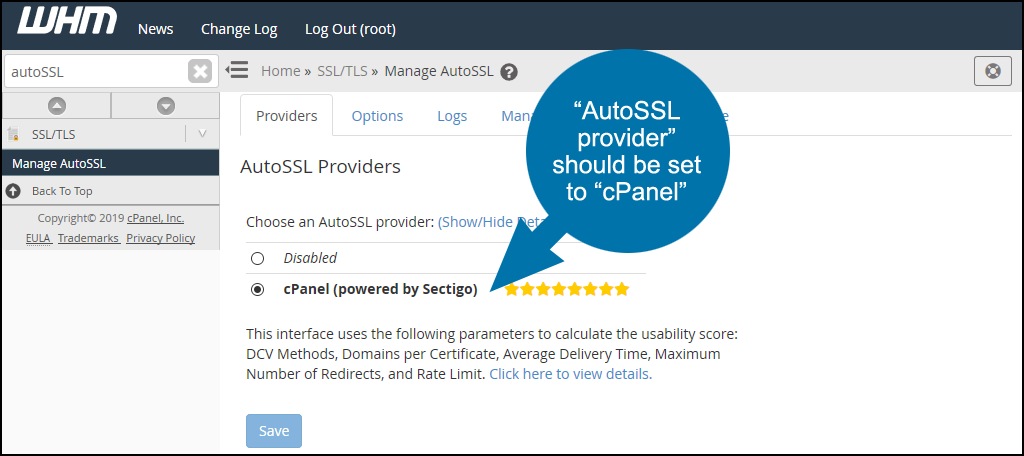
Scroll down to the “AutoSSL Providers” section. If cPanel is not already selected, select it and click the “Save” button.
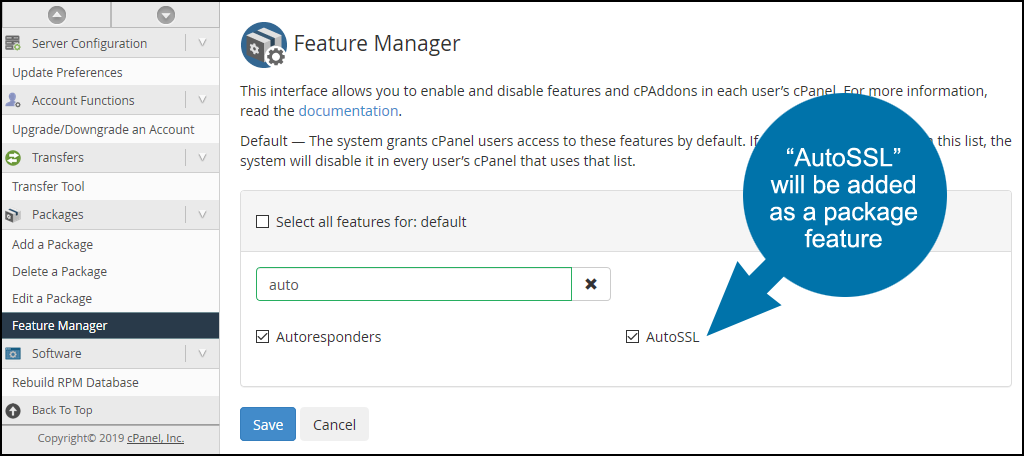
When you enable cPanel as the AutoSSL provider, two things happen, first, an “AutoSSL” package feature will be added.
Also, a cronjob is added to automate the downloading and installation of new SSL certificates for all of your hosted domains.
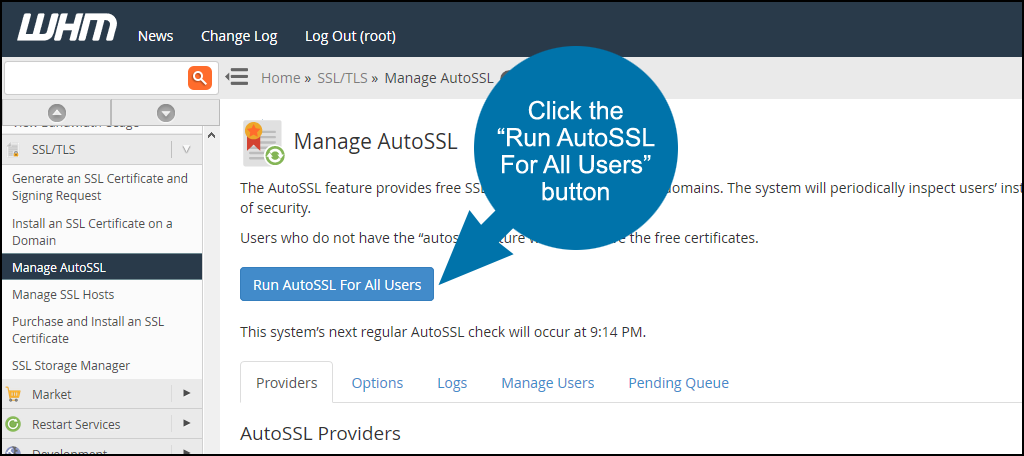
You can wait for the cron job to run or go back to the top of the “Manage SSL” section and click the “Run AutoSSL For All Users” button.
That should remedy the browser warnings when accessing your VPS, as well as install SSL certificates on all accounts/websites (by default AutoSSL will not overwrite any existing certificates).
