Let's purchase it first!
1- Hello, first of all we need to purchase our Service
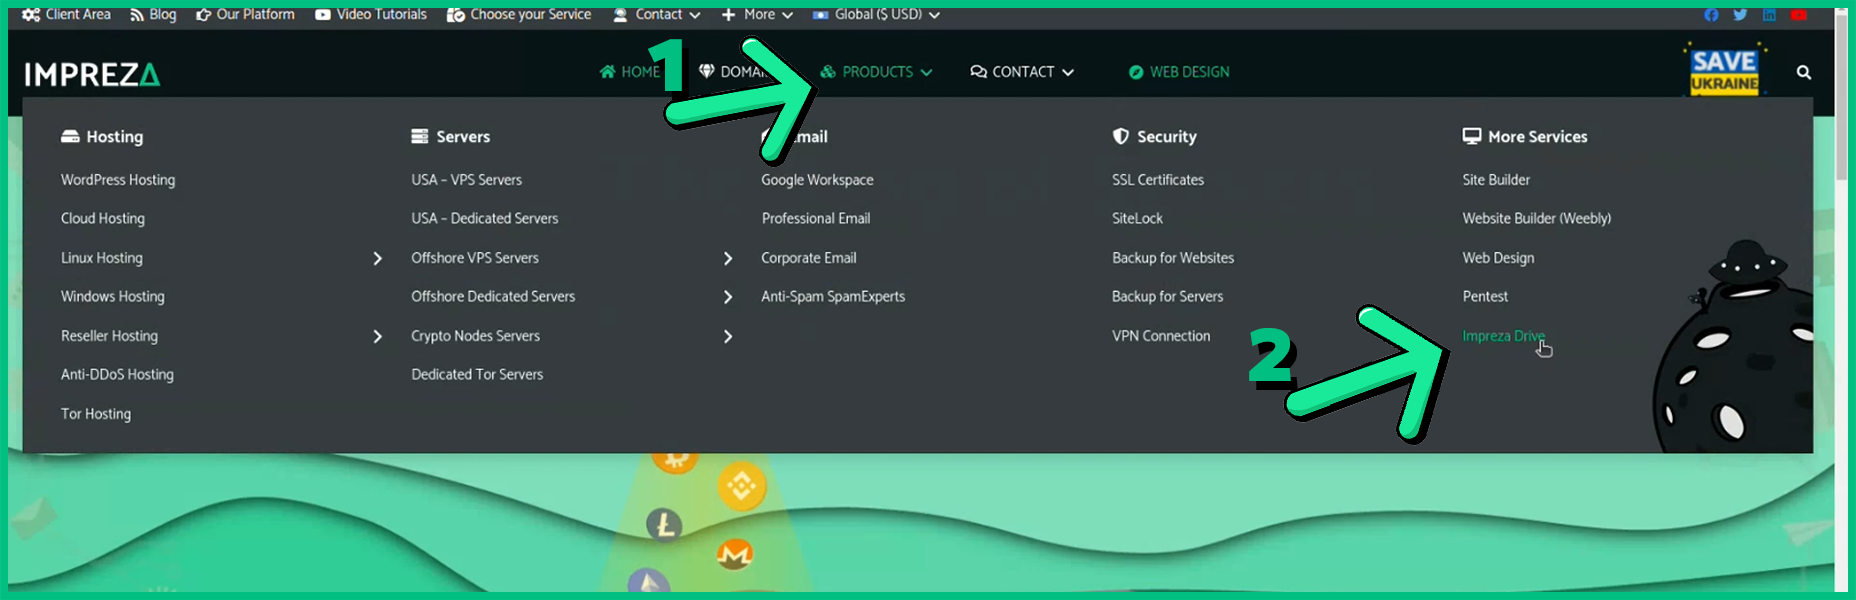
2- To do so, within our page, go to "Products>Impreza Drive"
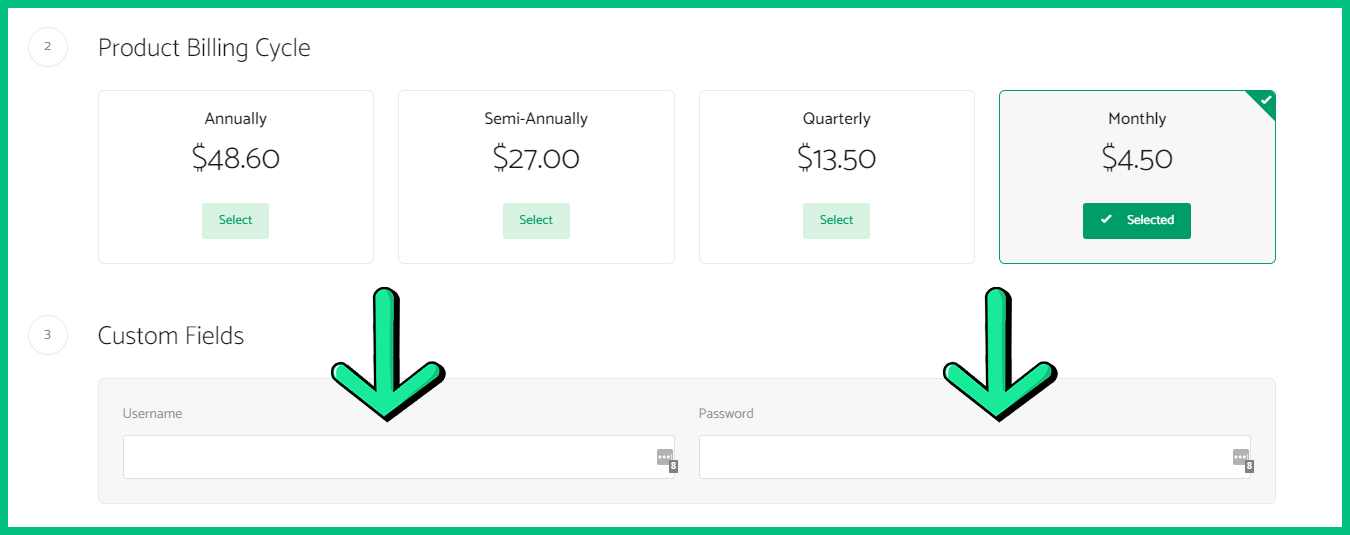
3- Here you'll see all details of our Service, also their configuration

4- Now in here Check all information, also, create your Username and Password
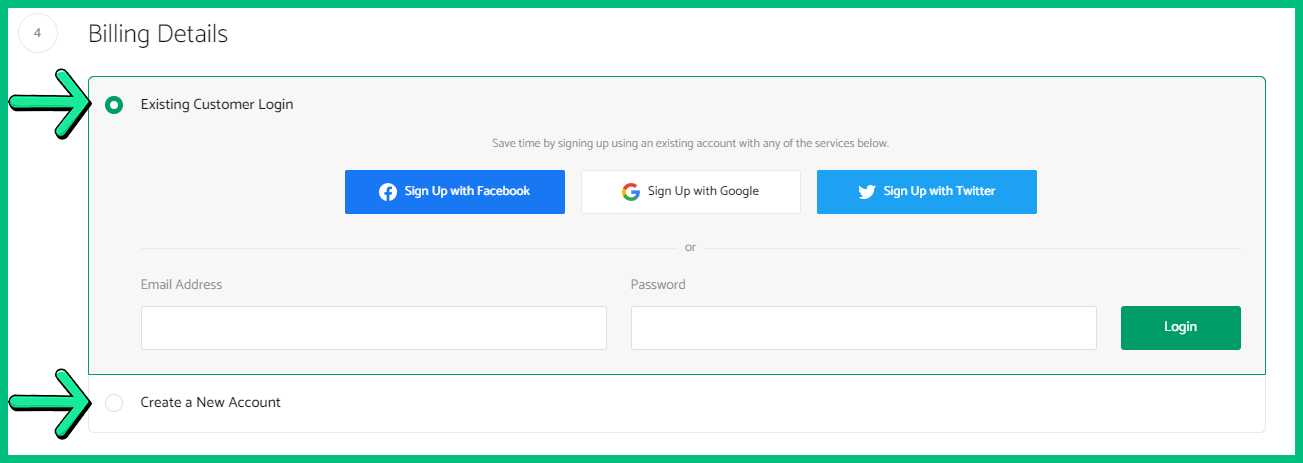
5- Once done, you'll need to login with your Impreza Account or Create one
6- Alright, now Accept our Terms of Service and click on "Checkout"
7- And then you can pay your Invoice using the chosen Payment Method.
How to Login into your Impreza Drive
1- To log into your Drive is pretty simple
2- Once our Support set everything you'll get all login information through Ticket
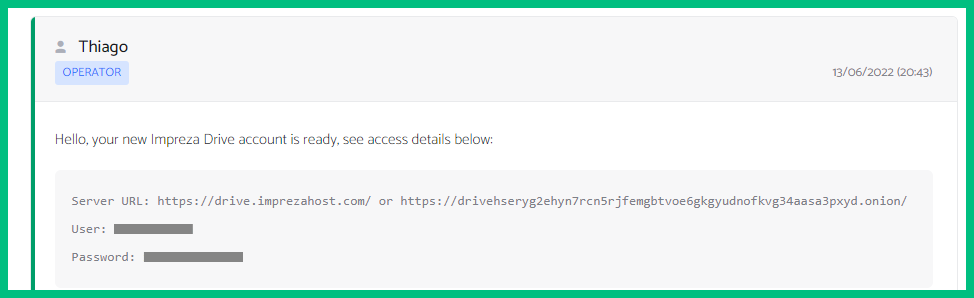
3- Copy the link and log using your received username and password
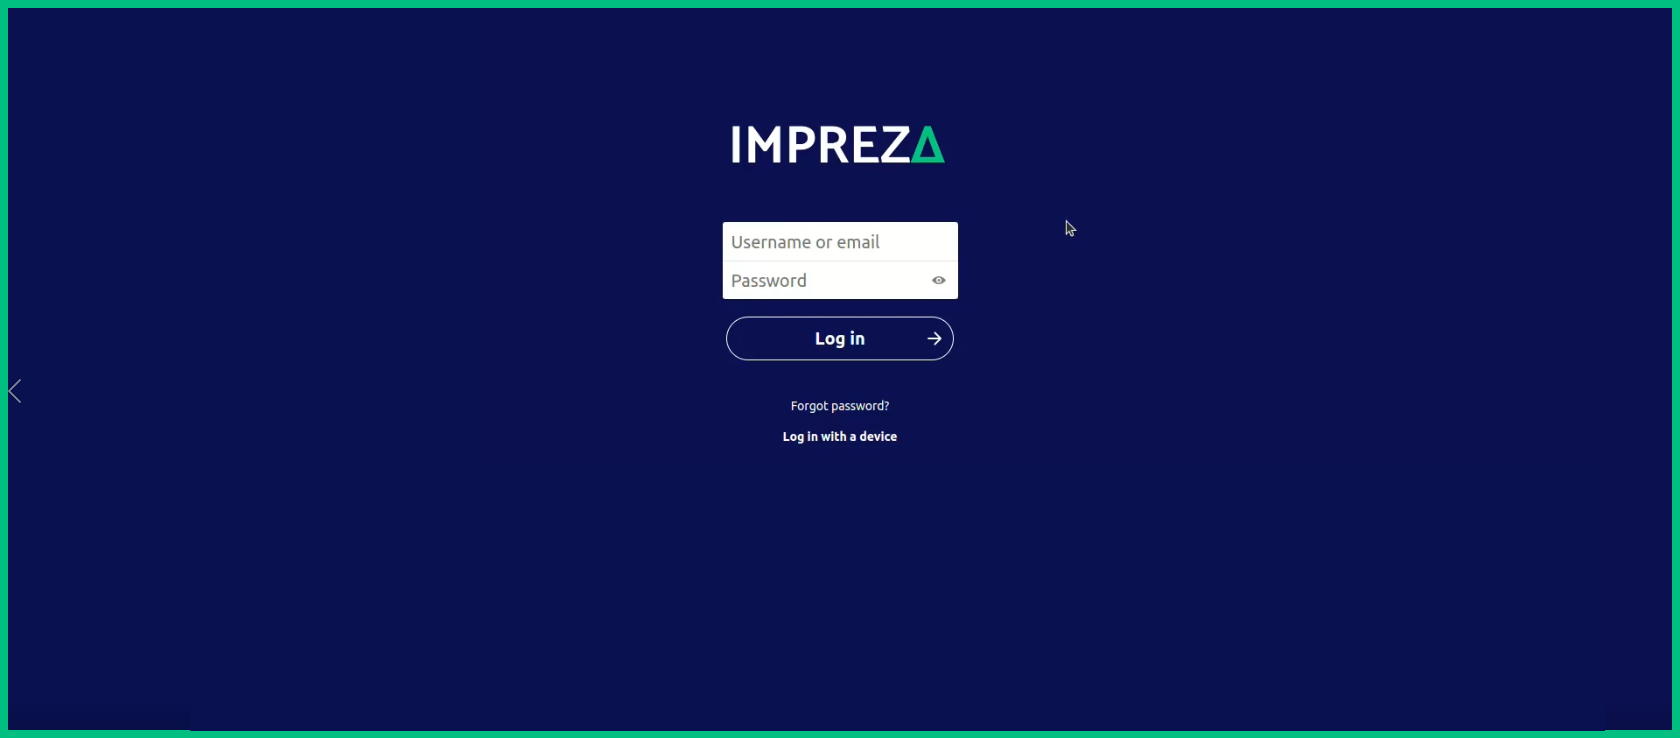
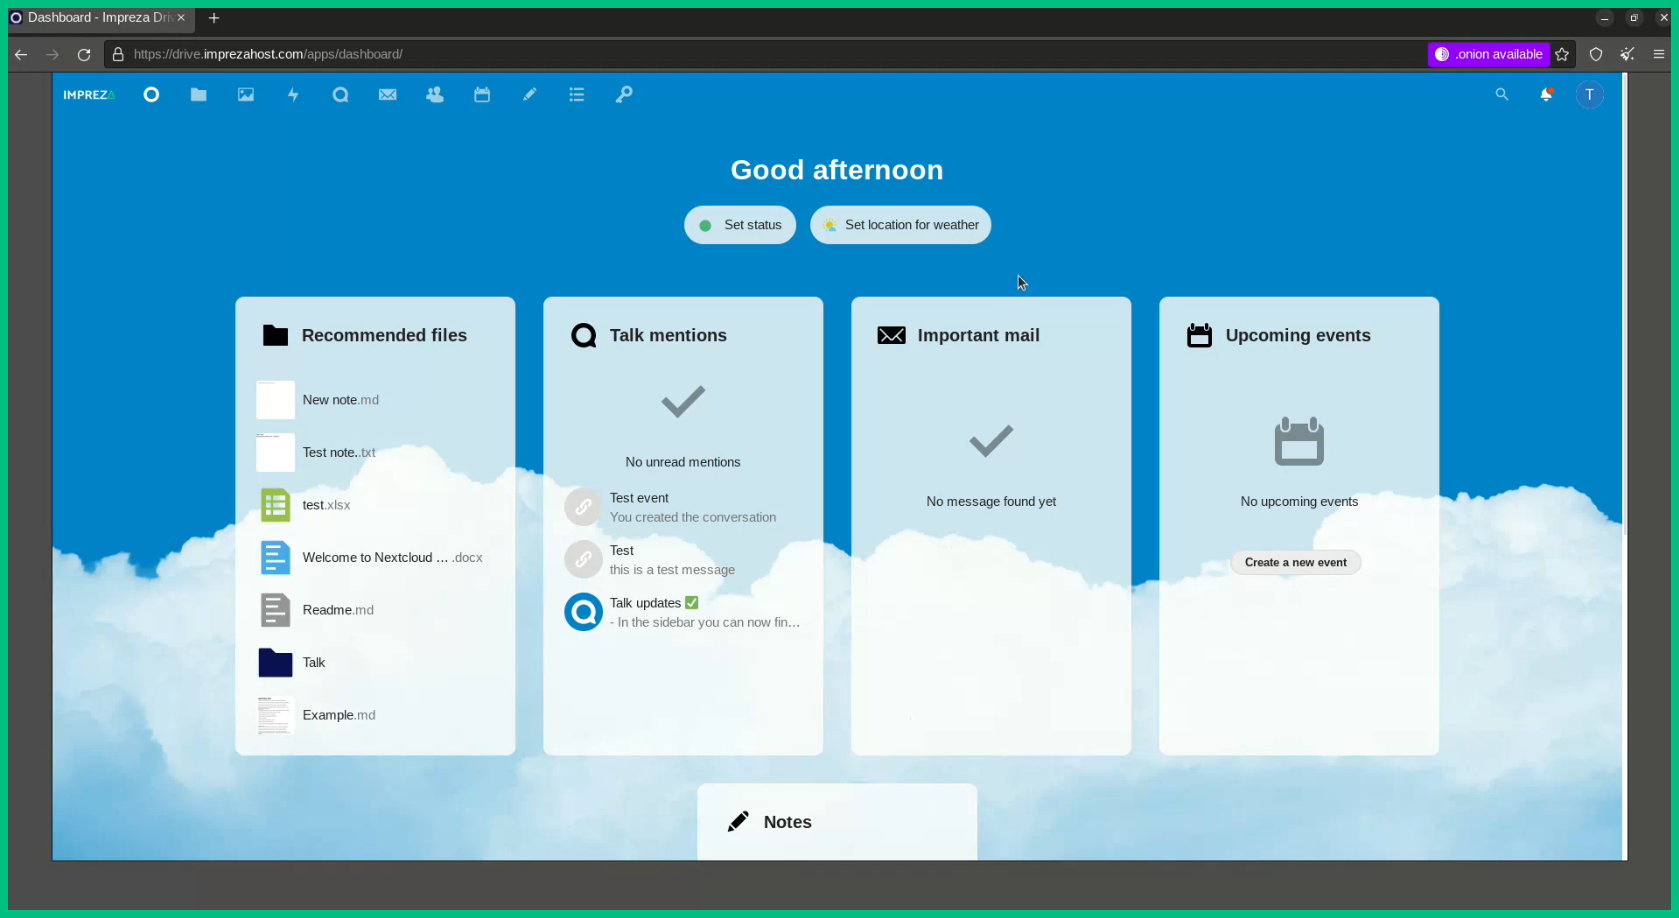
4- And here we go, that's your Main Page

5- That done, now we can learn about each tool we have here!
How to use the File Manager
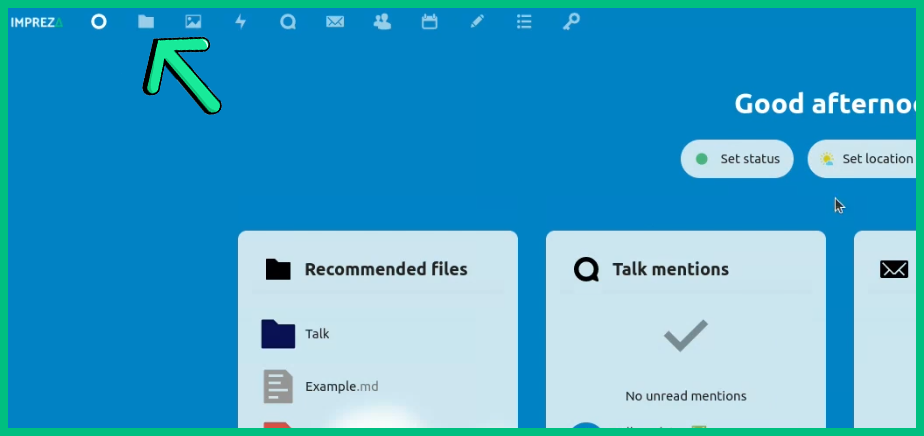
1- Let's See how to use the File Manager
2- To use it is simple, click on the File Icon at the menu
3- Here you'll see a few sections you can use, also can see your Storage Status
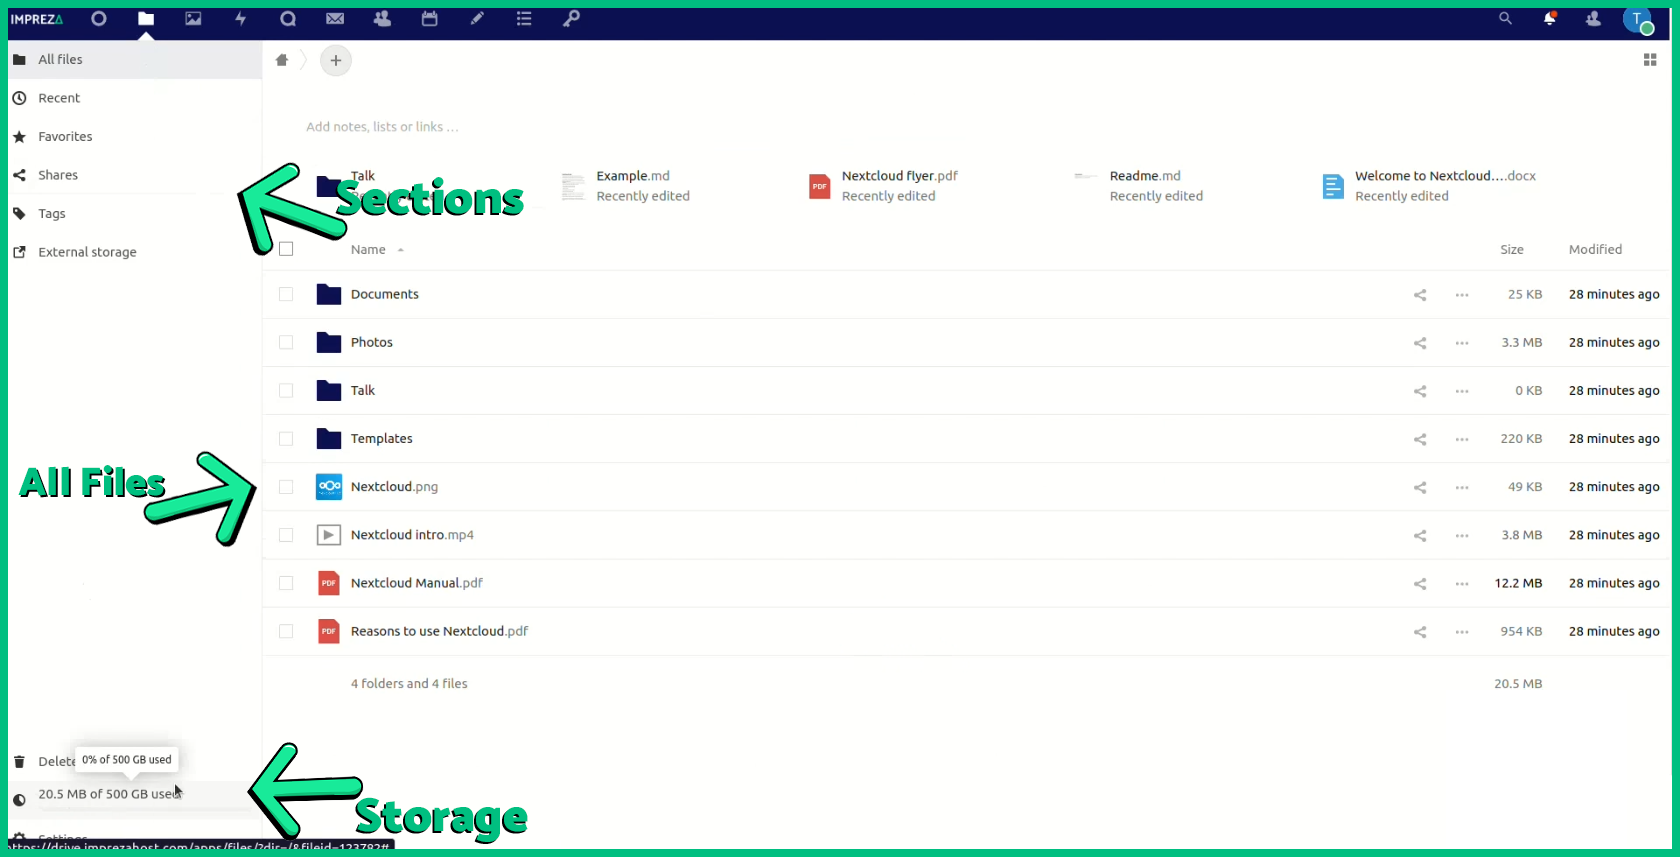
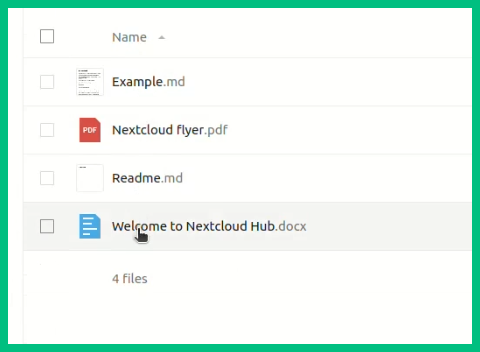
4- In the middle where are all files select any file by just clicking on this box
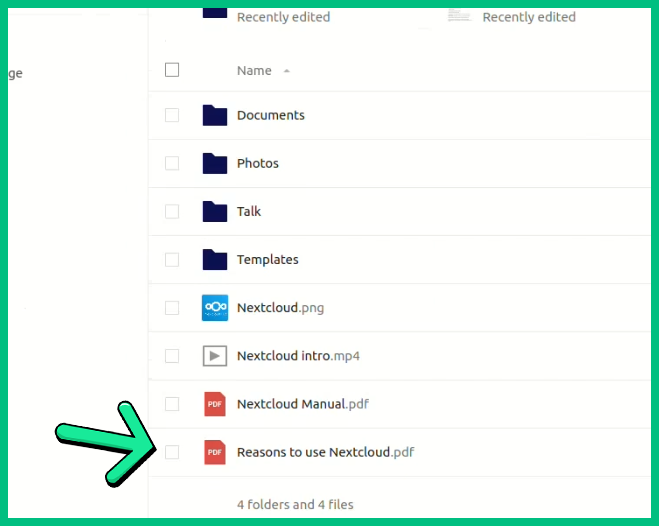
5- Also with the Right Click you can see a few more options, you can use
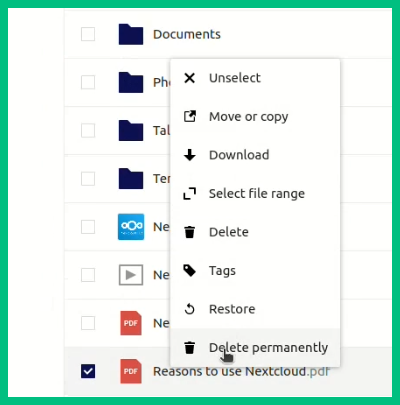
6- Let's delete this file, just click on "Delete" or "Delete permanently"
7- Now if you clicked on "Delete" we can go to our Trash, all files will be in here
The Trash Button: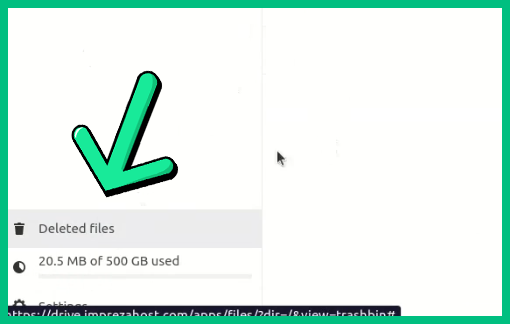
8- Those files will remain here for a temporary time, after that, they will be automatically deleted
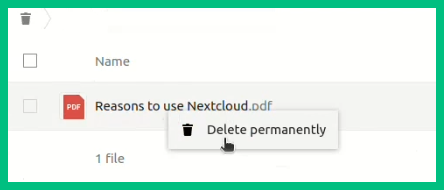
9- Also, in here you can Delete it Permanently using the Right Click
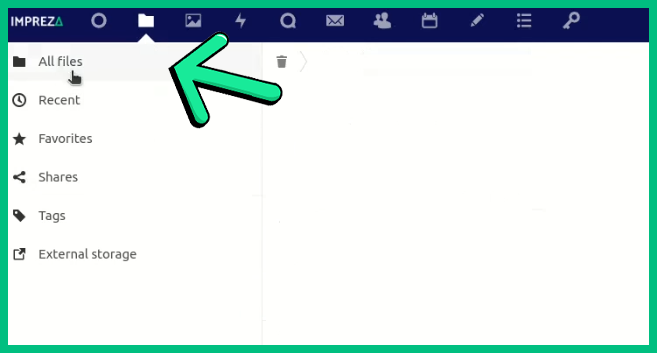
10- Let's get back to the File Manager, click on "All Files"
11- To open any file, just Double-Click on it
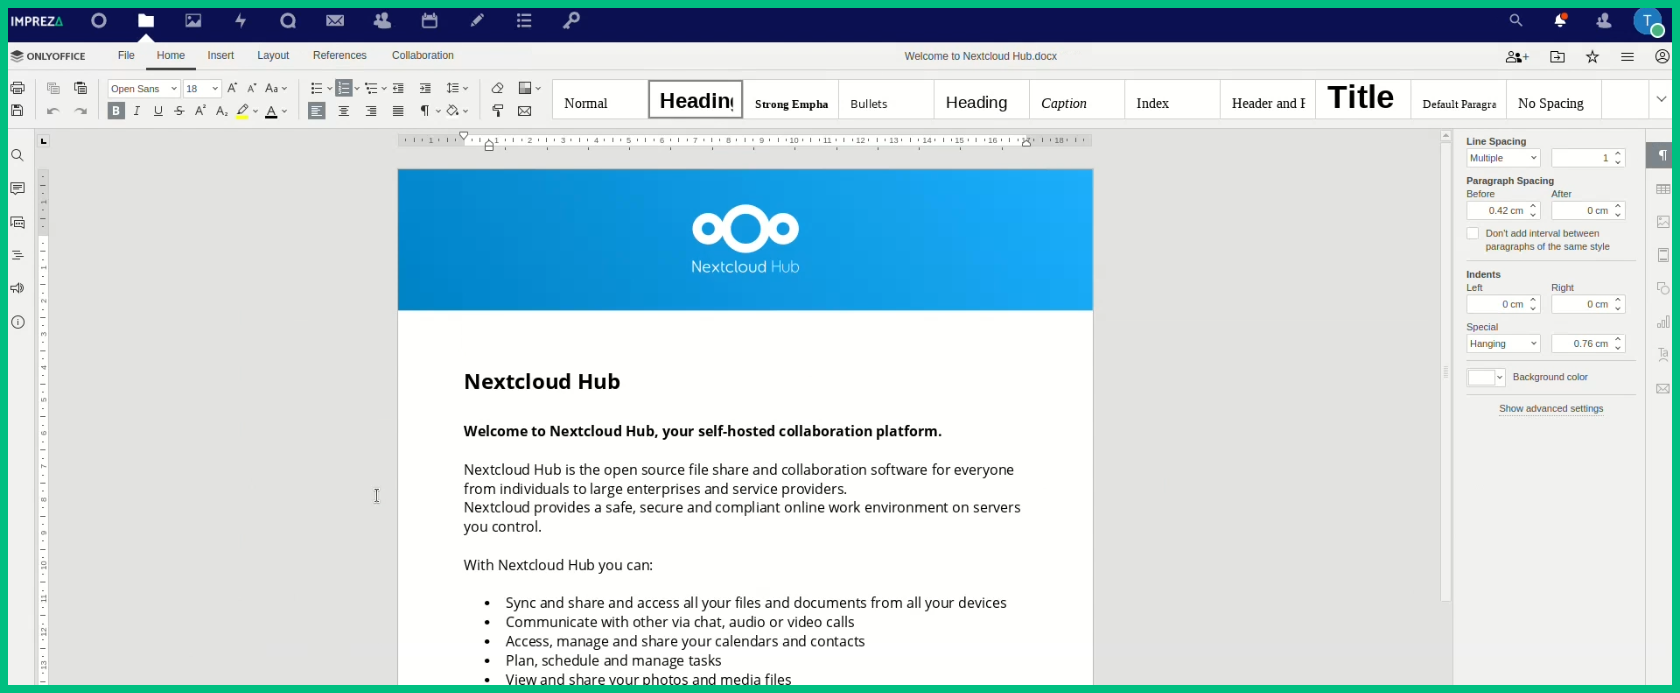
12- This one is a Text file, let's double-click on it to edit it
13- In Drive you can edit any kind of files you want
14- And that's how it looks when you're editing a Text File
15- Within "File" button you can Download this file, save and even Print it
File Button: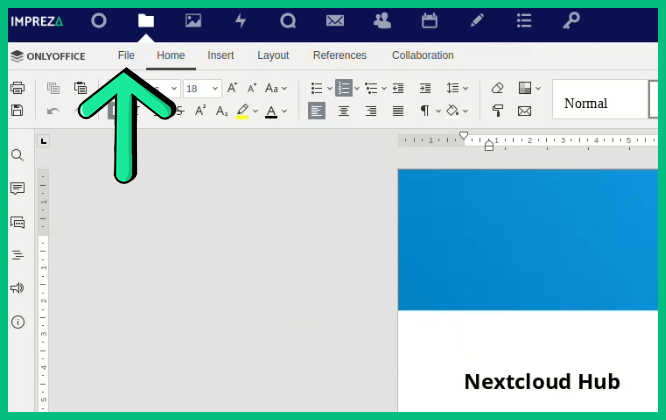
File section menu: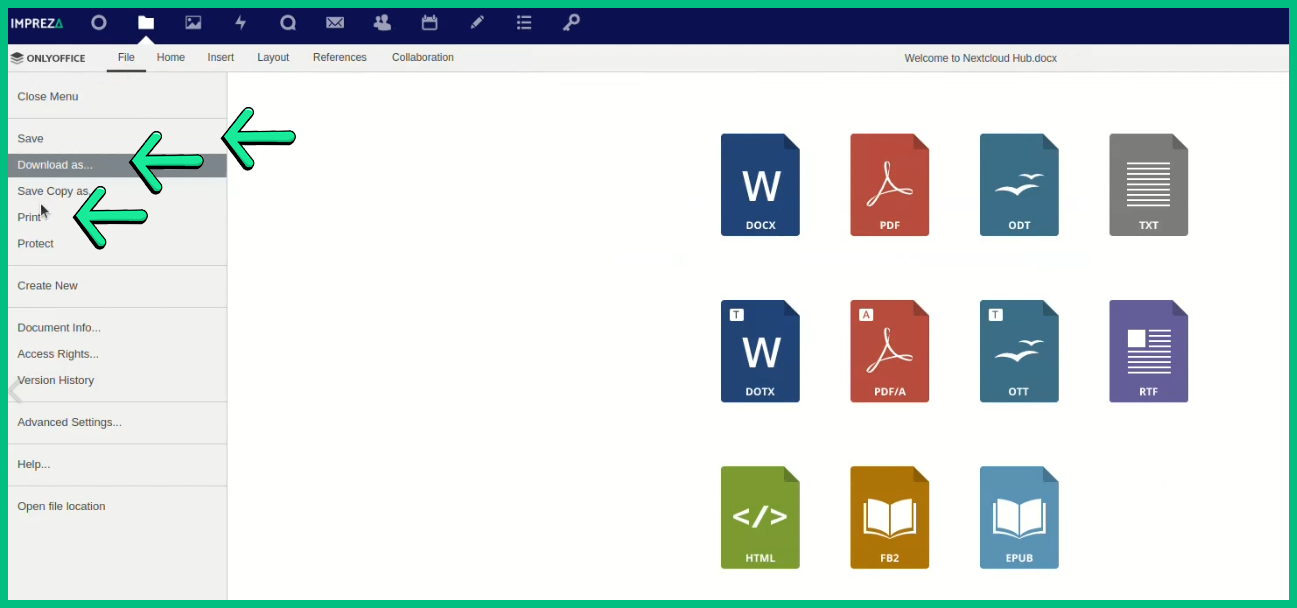
16- Click on the File Icon to get back to where we began
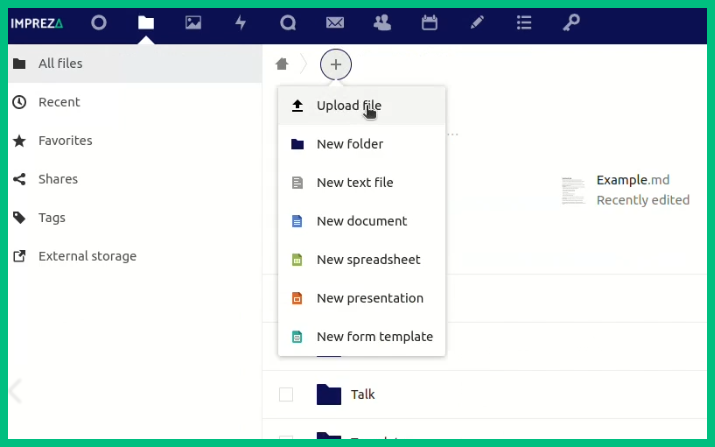
17- To upload files you can just throw files on the File Manager page, or click on the "+" icon
18- If you uploaded your File it will automatically appears in here, you don't need to reload the page
19- Okay, now as you can see, there are a few icons on the right

20- You can share this file to anyone, just click on this "+"
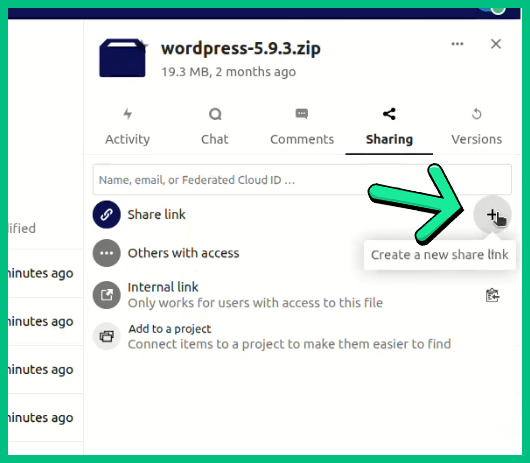
21- Any person with this URL will be able to download this file
22- Well, now you can edit or add any file you want
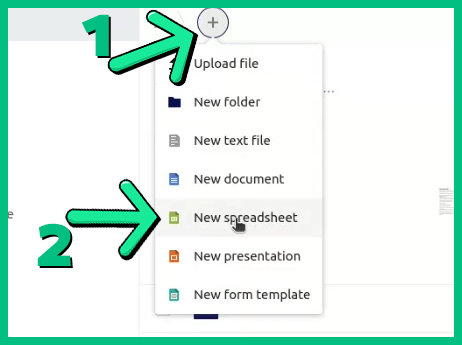
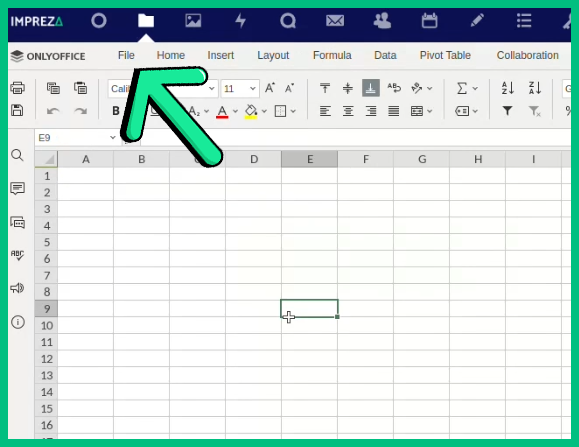
23- Okay, back to the beginning, let's create a Spreadsheet, click on it
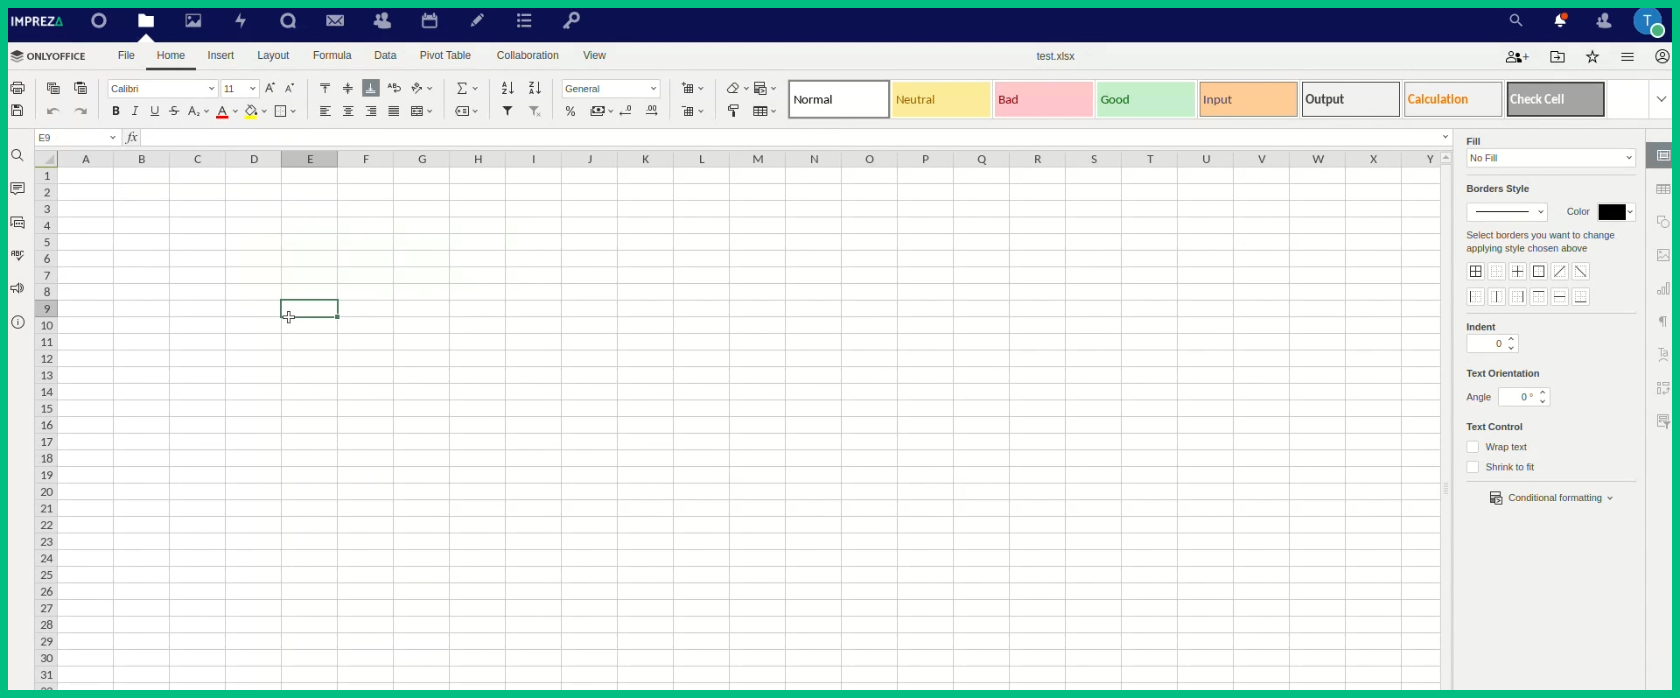
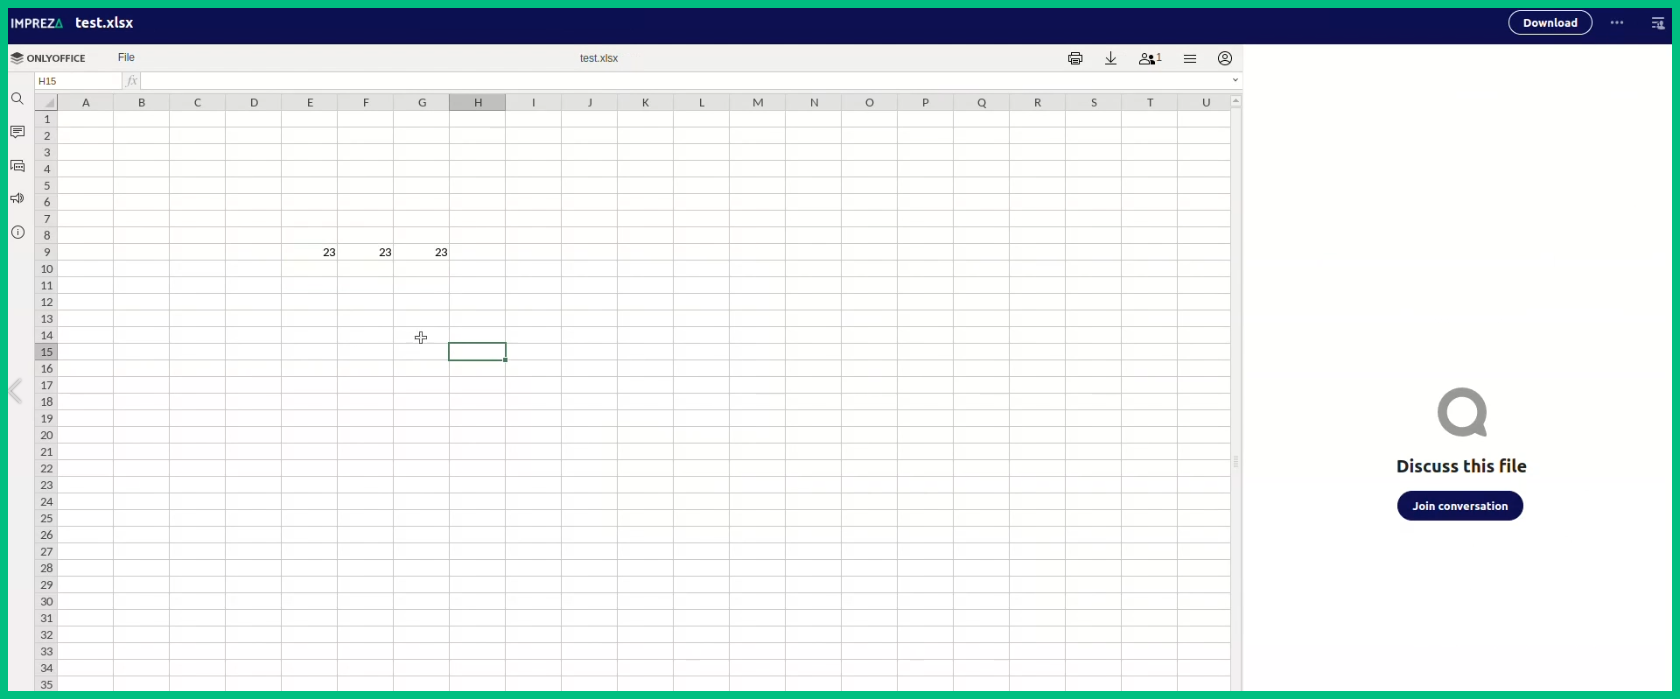
24- As you can see, now you can edit it or add anything you want
25- To save, click on "File" then "Save" and done, our file is saved
Save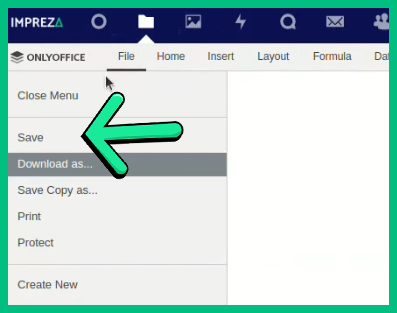
26- And as before, you can share this file to anyone you want, it's the same process
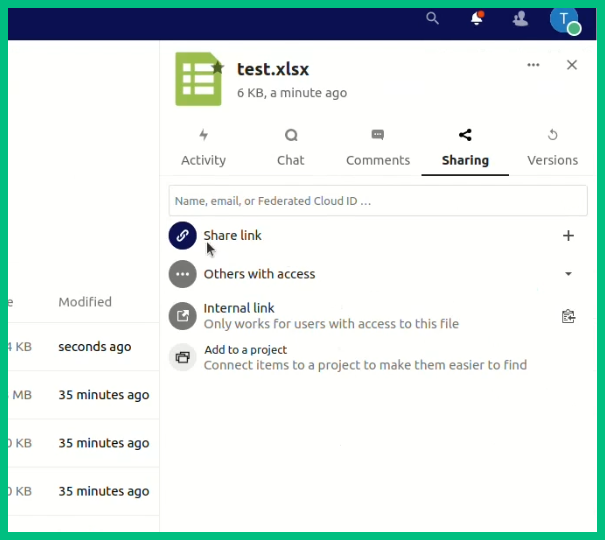
27- And if you allow it, other people can edit your created files through this URL
How to use the Online Chat
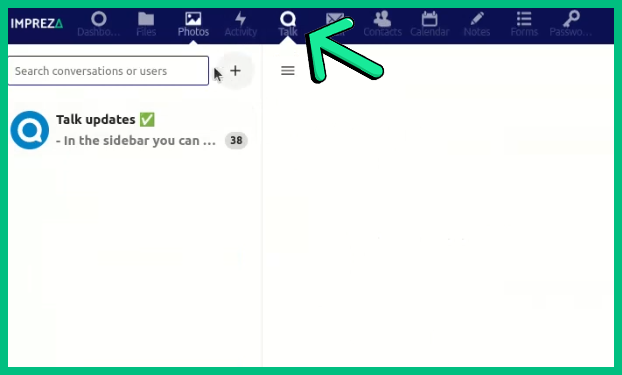
1- On the Drive menu, click on "Talks"
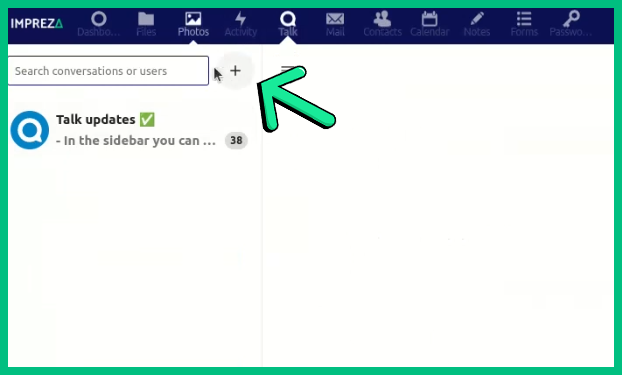
2- Let's create a Conversation, click on the "+" icon
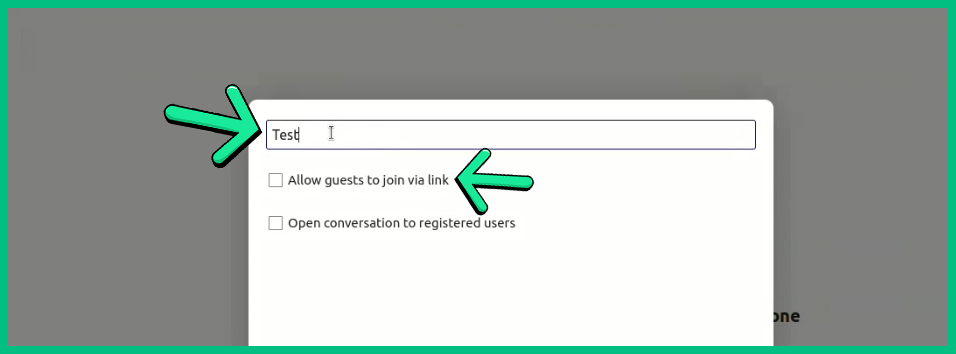
3- Here choose the Conversation Name, then enable the first box
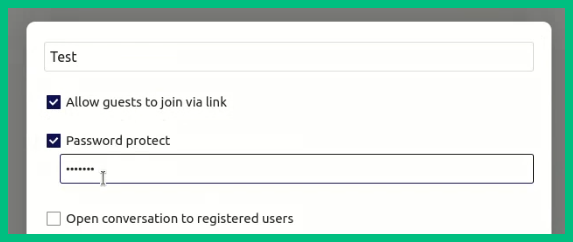
4- Also, you can set a Password if you want
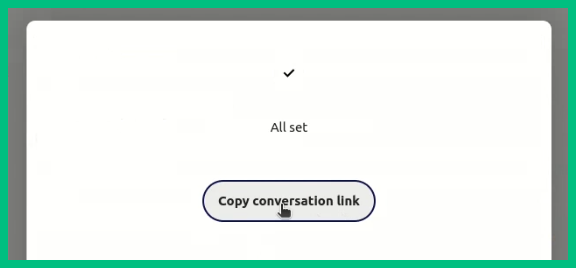
5- If you don't have any other Users into your account, just click on "Create Conversation"

6- Copy the Conversation URL and send to anyone you'd like to talk
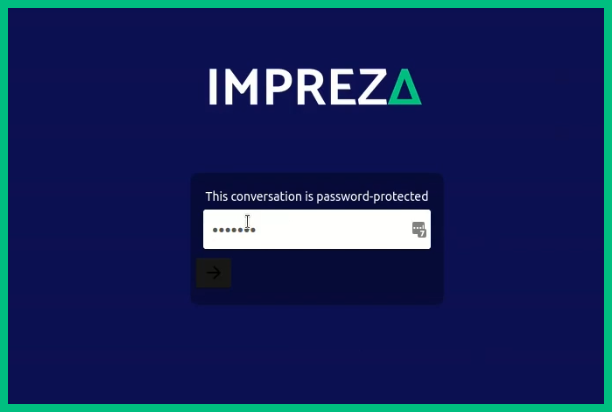
7- Once the person receive the URL, the password will be needed
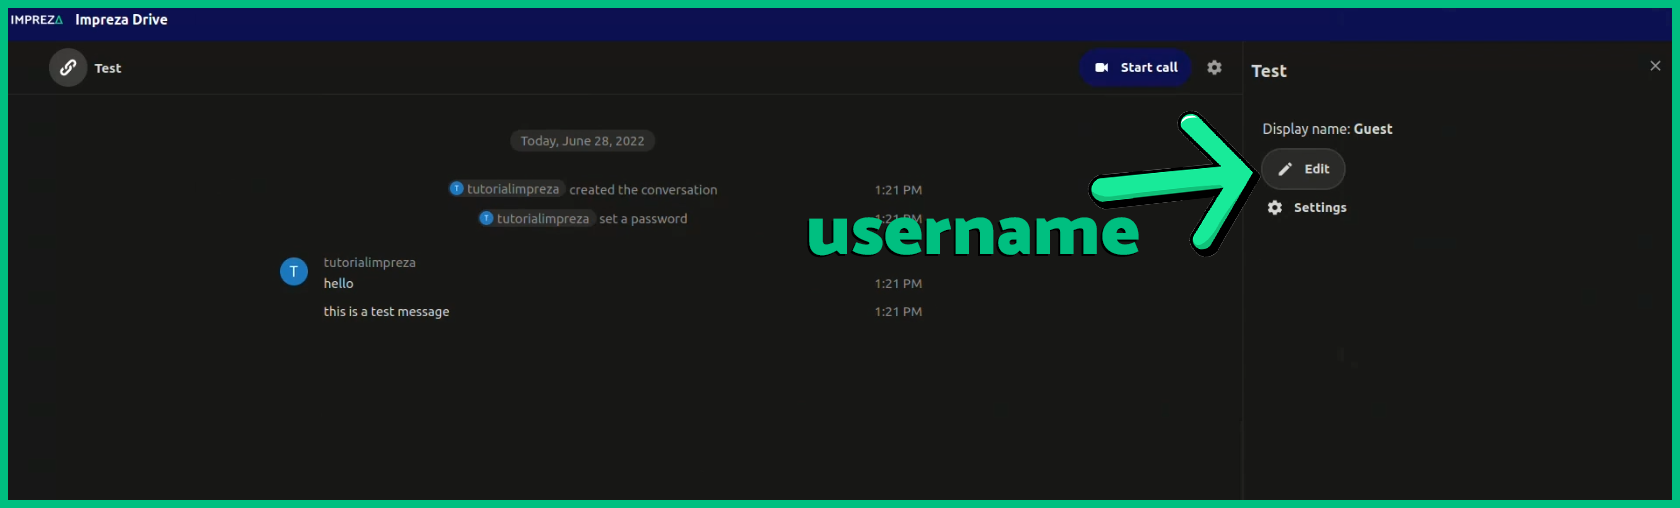
8- He can already start talking with you, also, here he can change his Username
Setting up the Email into Drive
1- Go to "Mail" then if you use any free Mail service, use the "auto" one to set up
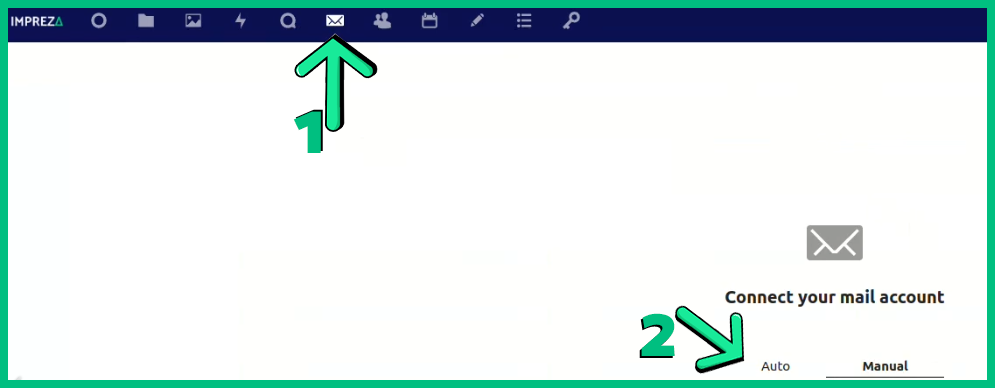
2- Here we'll use our own mail service, for it, use the "Manual" section
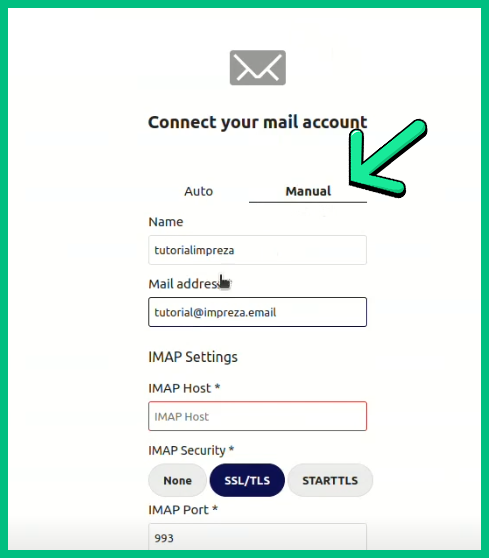
3- To connect, set your IMAP Host, Port, User and Password
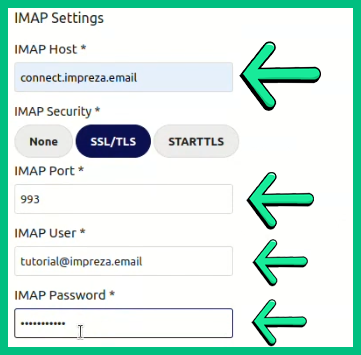
4- Then you'll need to set your SMTP Host, Security, Port, Username and Password to connect

5- Once that done, click on "Connect"

6- If you did everything correctly, your mail should already be working in your Drive
7- Note: Your Email must be working properly to the Drive Mail works
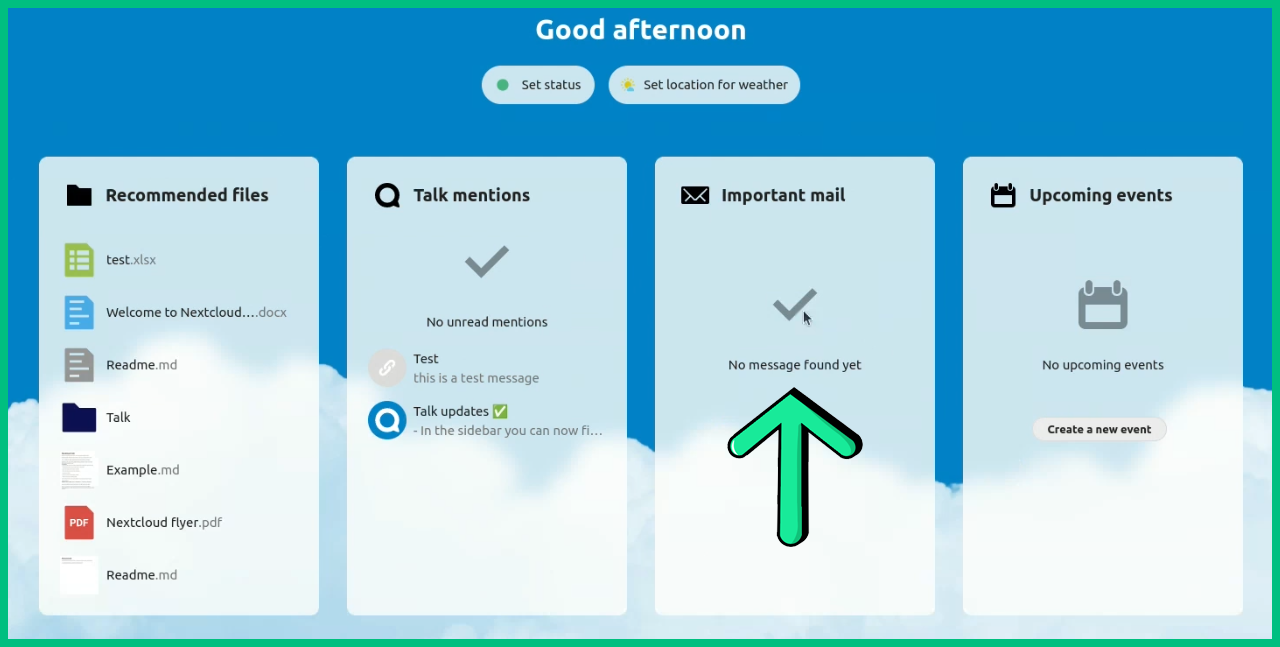
8- In the Main Drive page, all Emails you receive will appear in your Mail Column
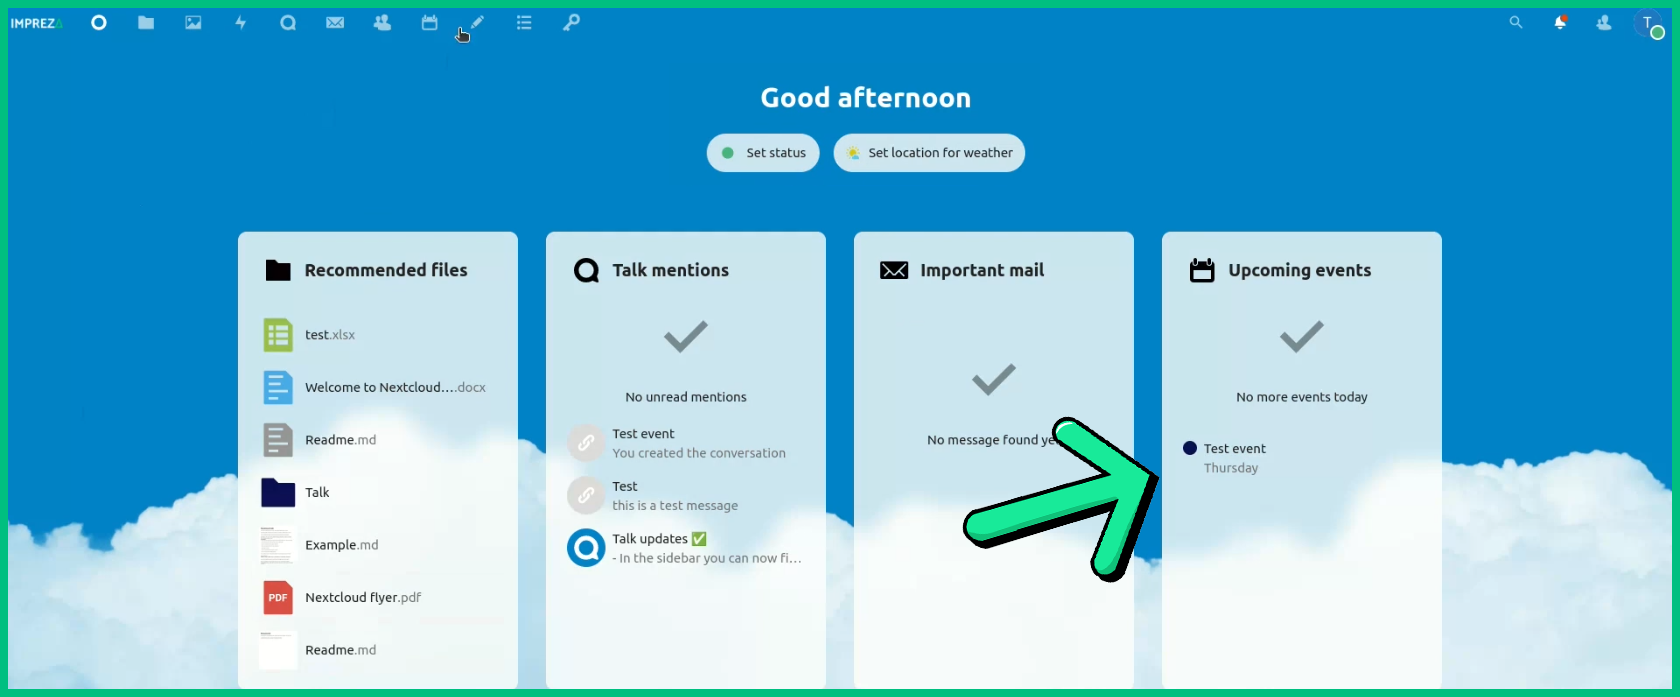
How to use the "Calendar" Section
1- As you can see, there is a column called "Upcoming Events"
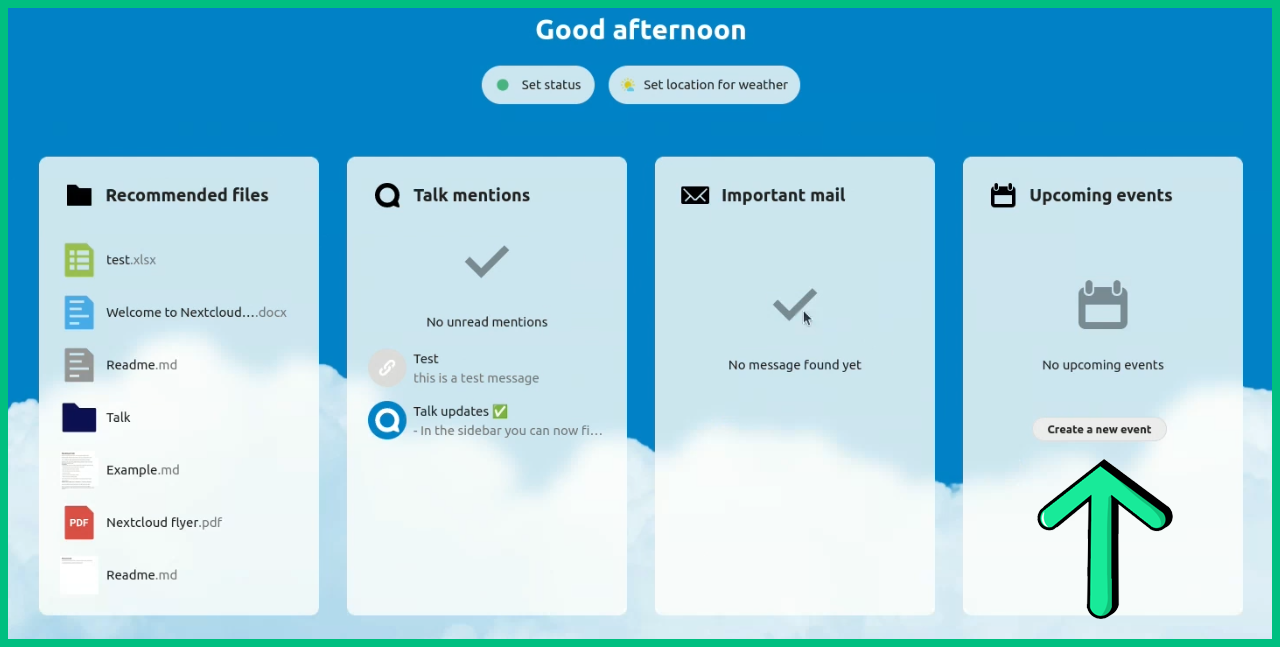
2- To use it, click on "Calendar" at the menu
3- And here you can easily add any Event or Date you need, there will be a notification when the day comes
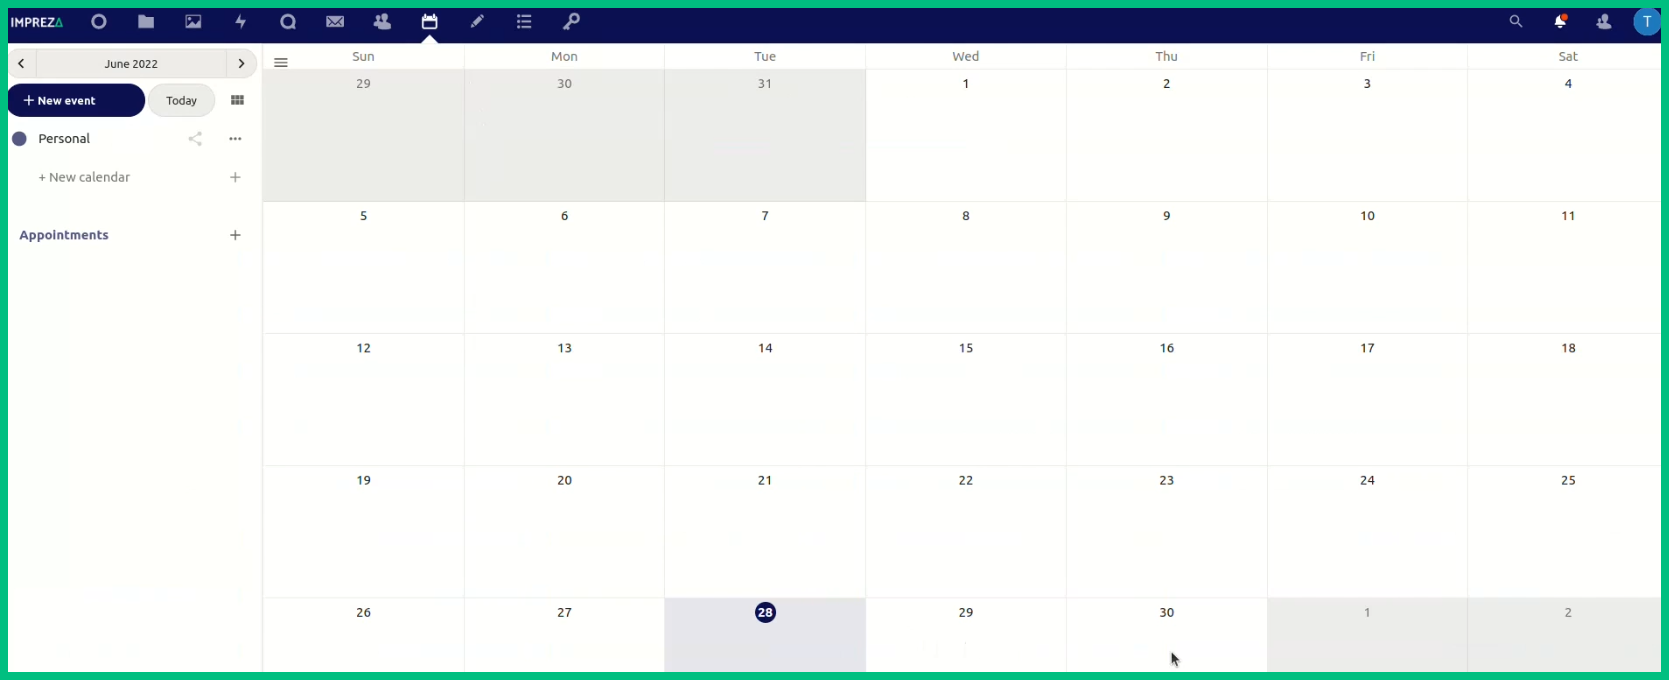
4- To add anything, click on the Day you want, name the event and set a Date then click on "Save" and that's it!

5- If you want, you can see more information by clicking on the Day, then on "More"
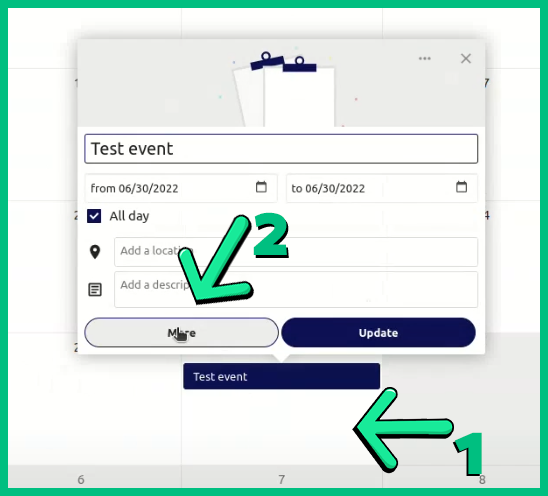
Then: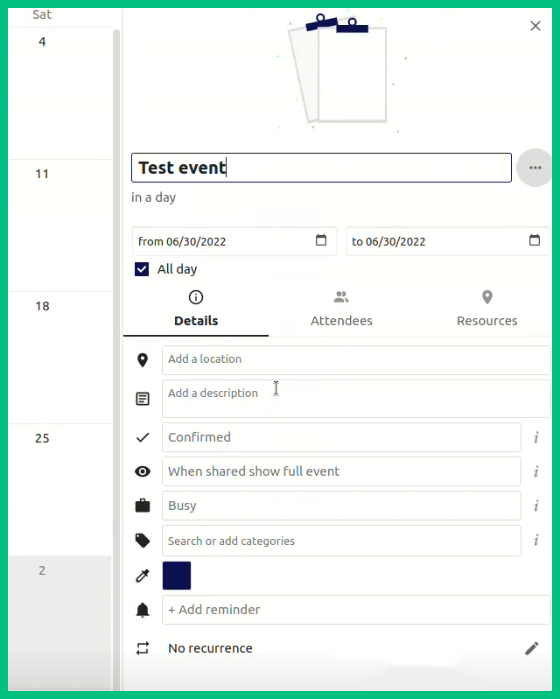
6- Also you can create an Online Chat for the Event you've created by clicking on "Attendees" then "Create Talk room for this event"

7- Done, in the main Drive Page, all events will be here
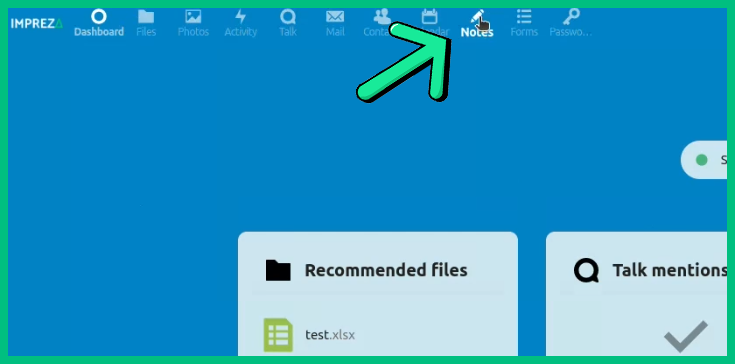
How to use the "Notes" Section
1- The notes are the most simple tools we have here
2- Click on the Notes at the menu
3- Here click on "New Note" to start writting
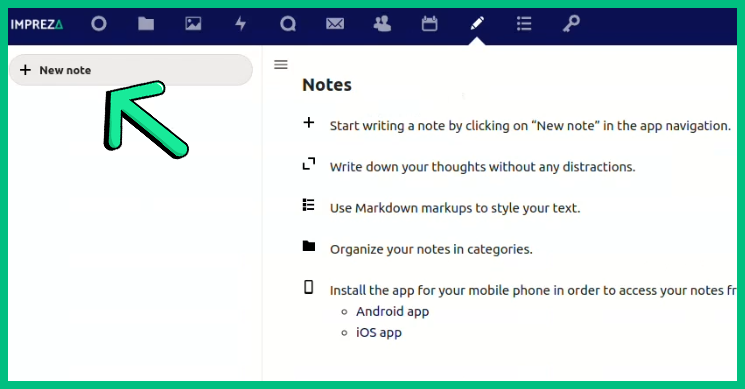
4- Now just Write anything you want, they will be automatically saved
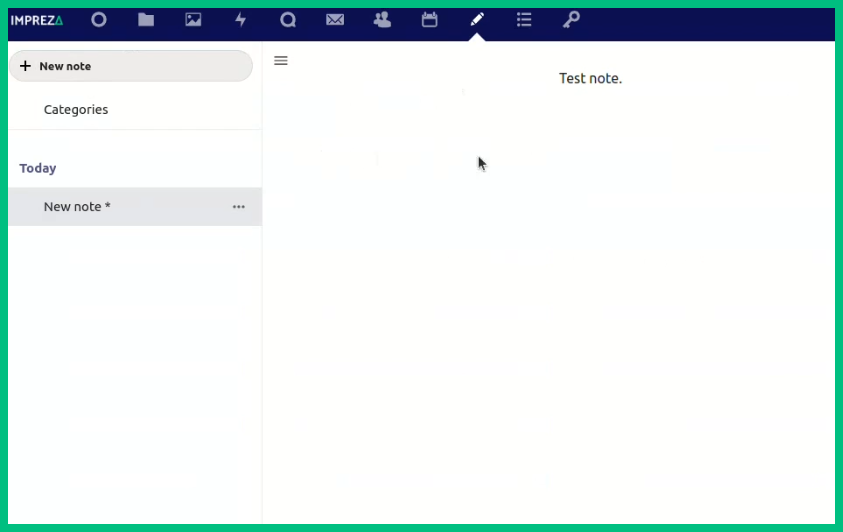
5- At the left bottom, click on "Settings"
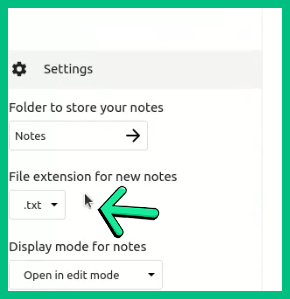
6- Here we can change our Note Extension
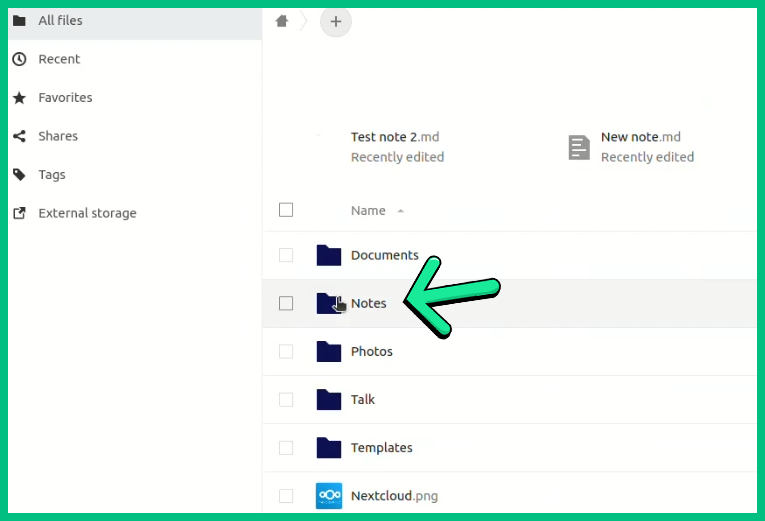
7- If you need, all Notes will be saved in "Files>Notes"
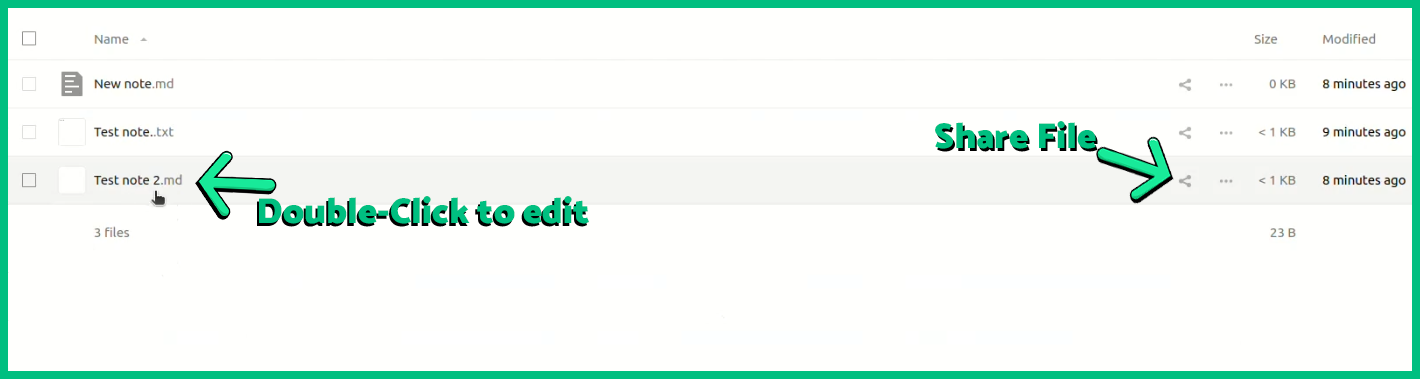
8- You can share the notes and edit them too
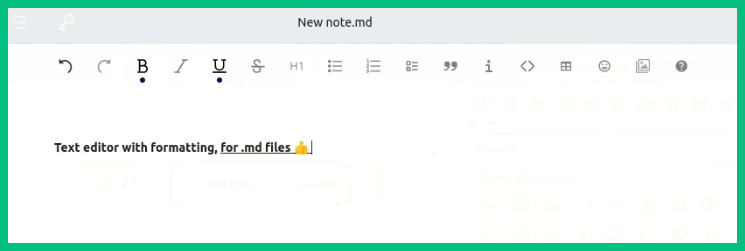
9- When you need to edit them, you can also stylize the text as you want
How to Customize our Main Page
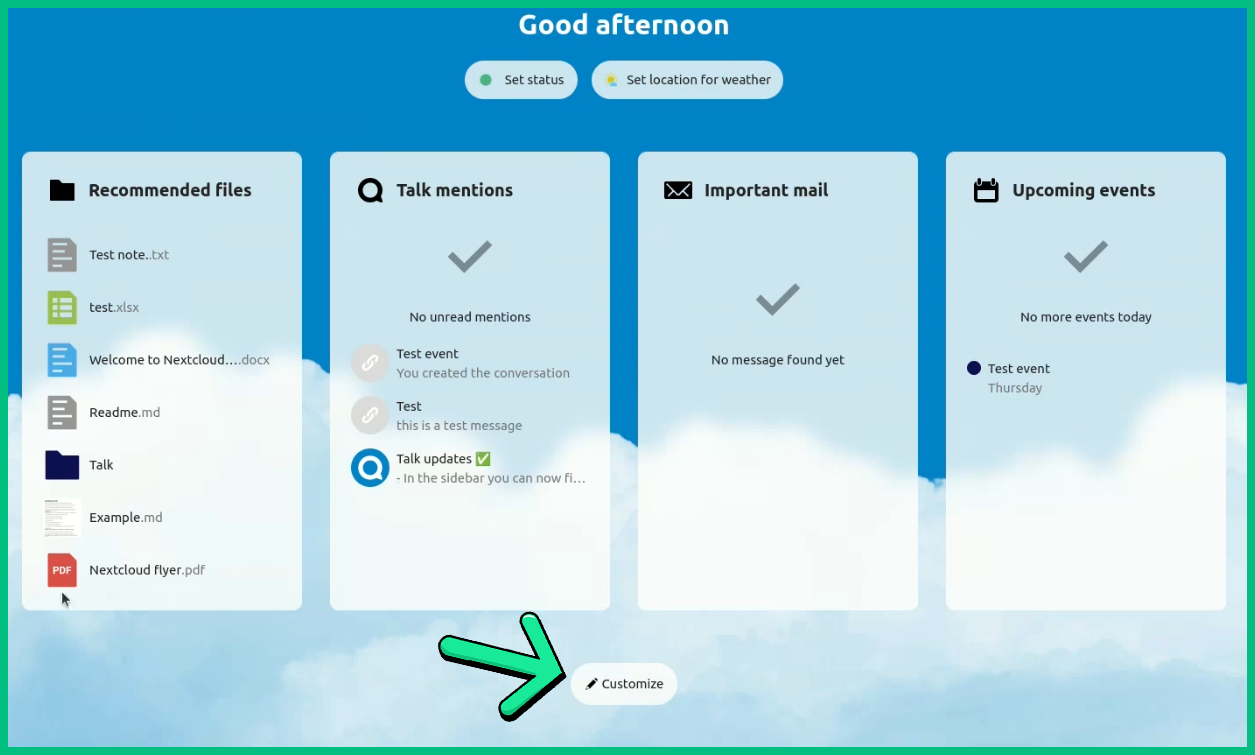
1- Let's go to our Main Page
2- To add anything on the main page, just click on "Customize" down here
3- Here you can change the Background and Widgets
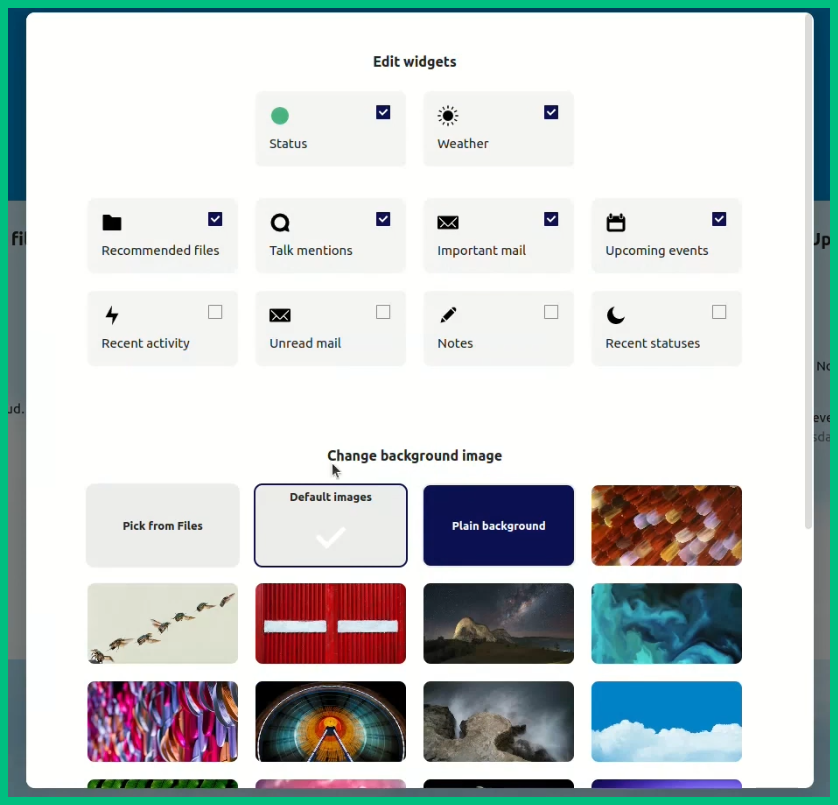
4- Here just click on what you want to add and that's it :D
How to create and use the "Forms"
1- Now let's see how to create an online Form
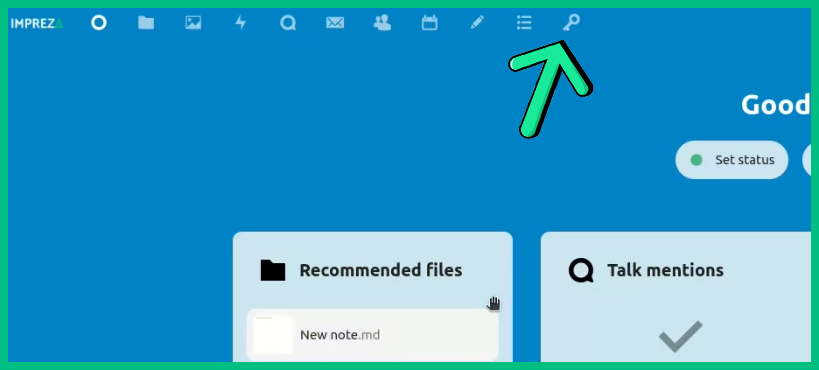
2- Click on the Forms Icon, then click on "Create new form"

Then: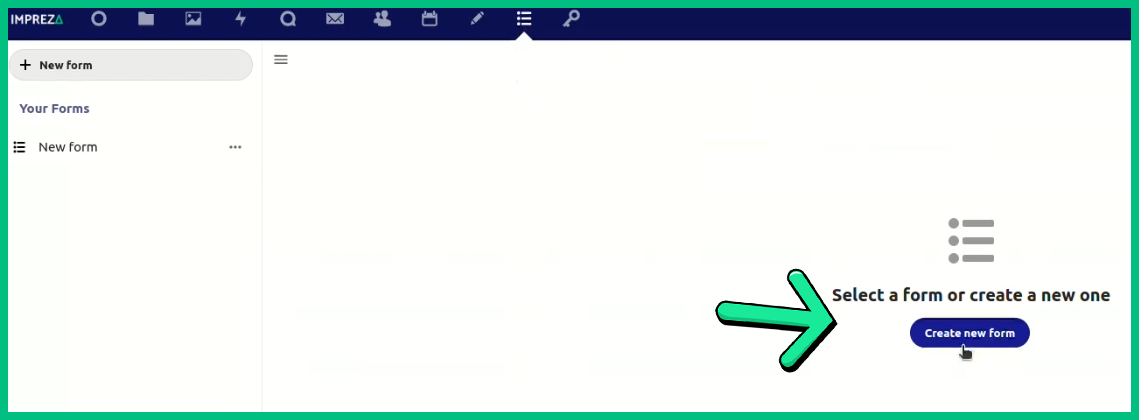
3- Here you can create your Form Title and Description
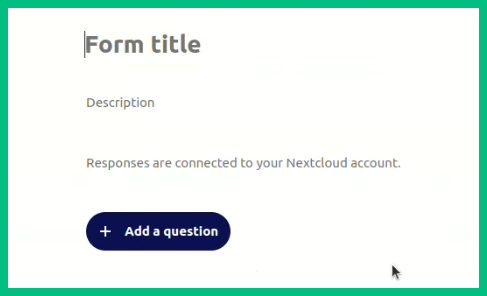
4- Now, click on "Add a question", here you have multiple options of Forms you may need
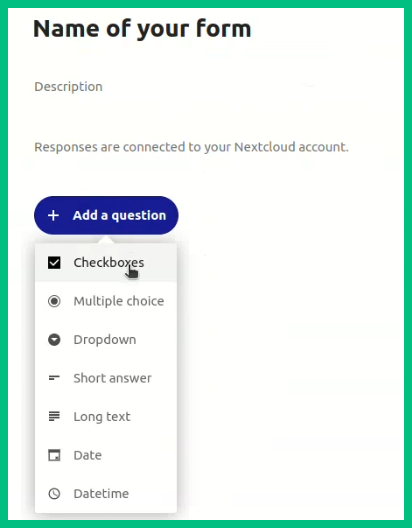
5- Here we'll use the CheckBoxes
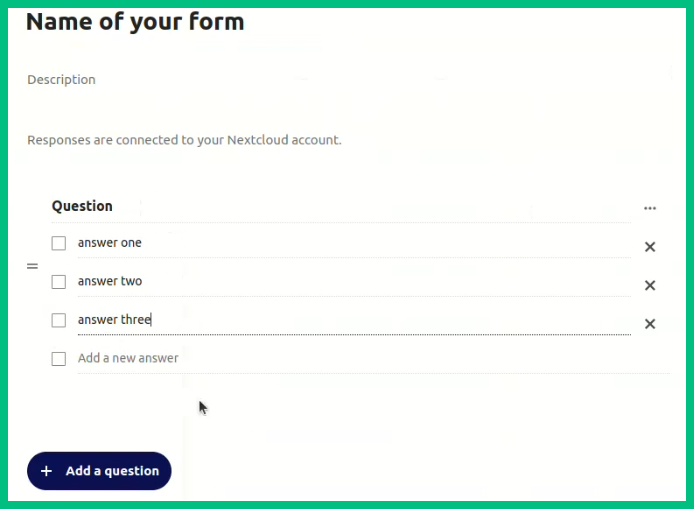
6- Alright, now you can add the questions, or texts, then create the alternatives for it
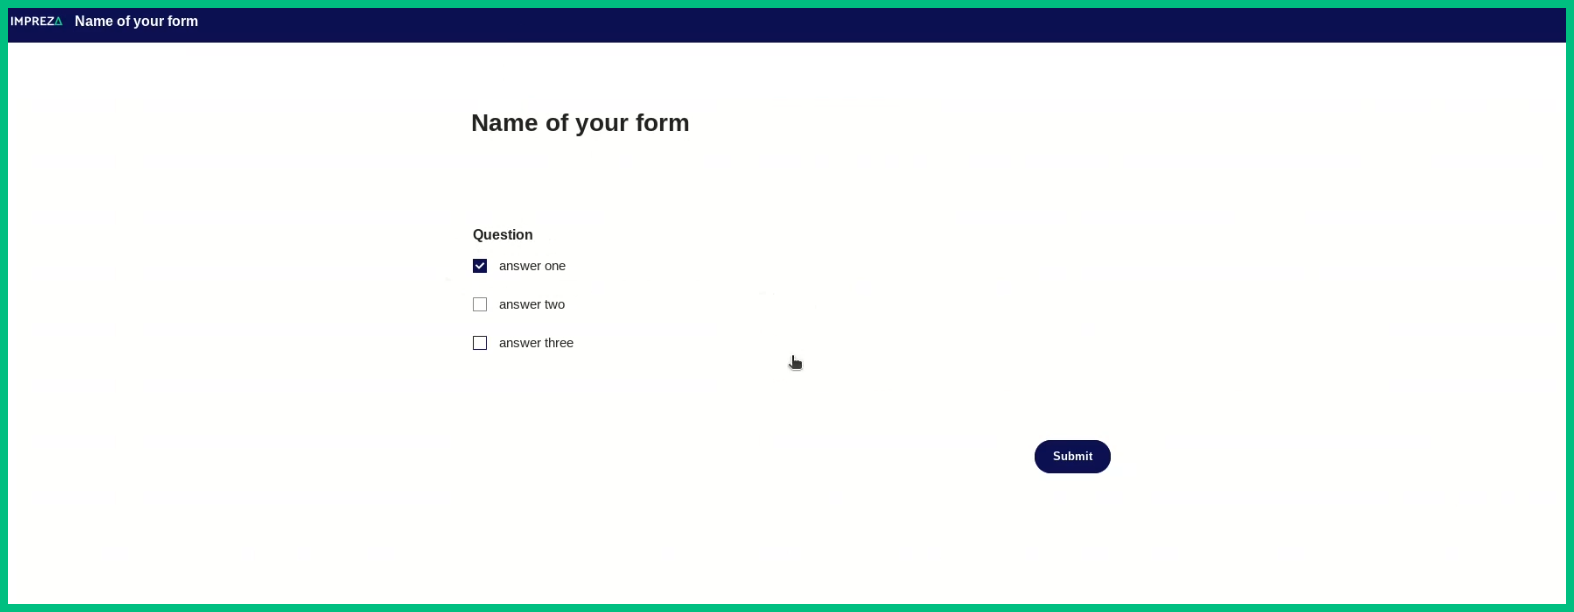
7- Done that, now click on "Share Link" to share your Form

8- Now we can connect to check how it is
Then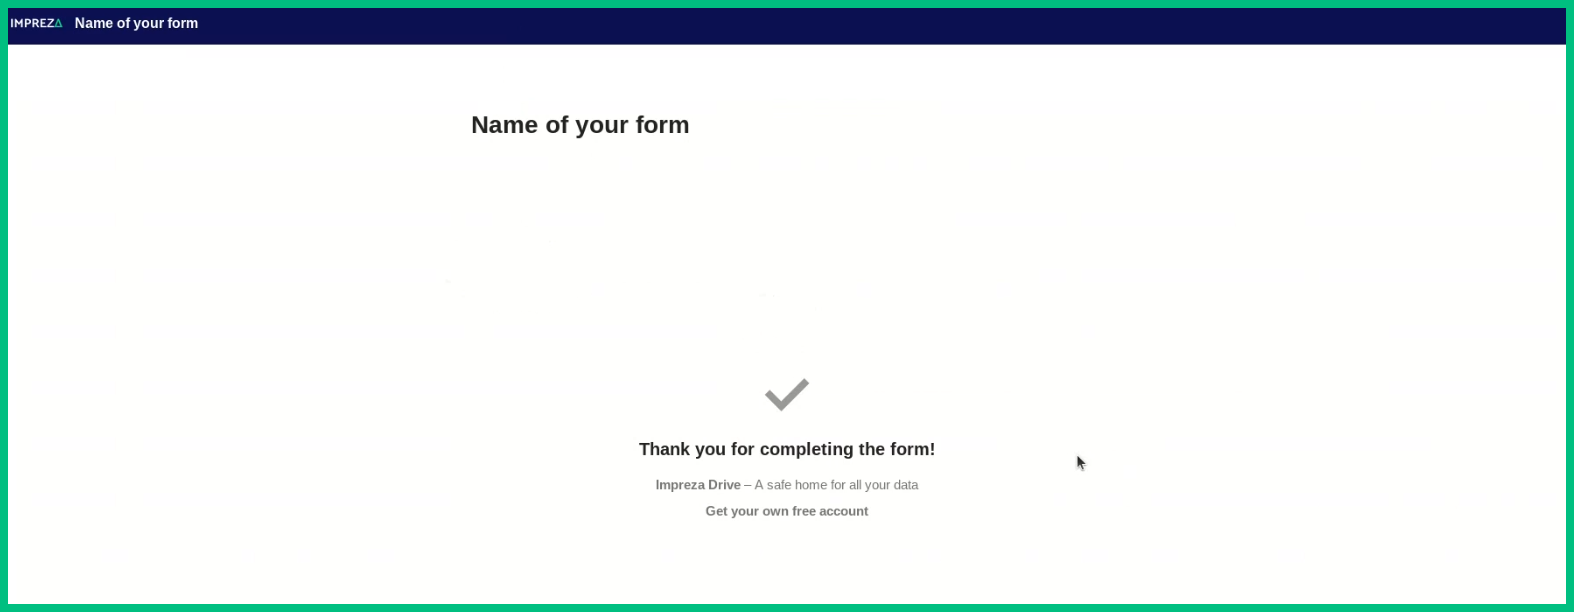
10- Note: All answered questions will be connected to your Drive Account
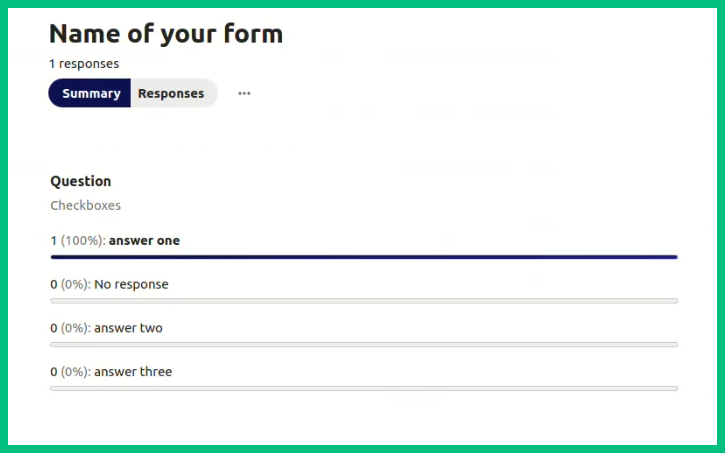
11- Now, to see the Results, click on these dots into your Drive, then click on "Results"
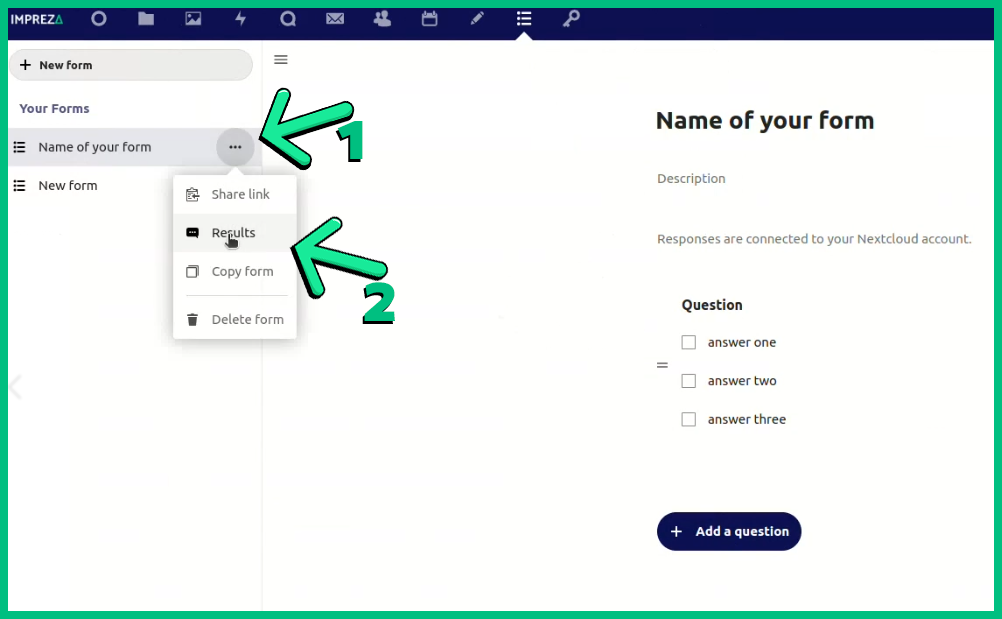
12- And here you go, all information you need!
How to use the "Password" Drive Section
1- The most important thing is, where you'll easily save and use all your Passwords?
2- Well, we have the solution, in your Main Drive Page, click on the Passwords Icon
Then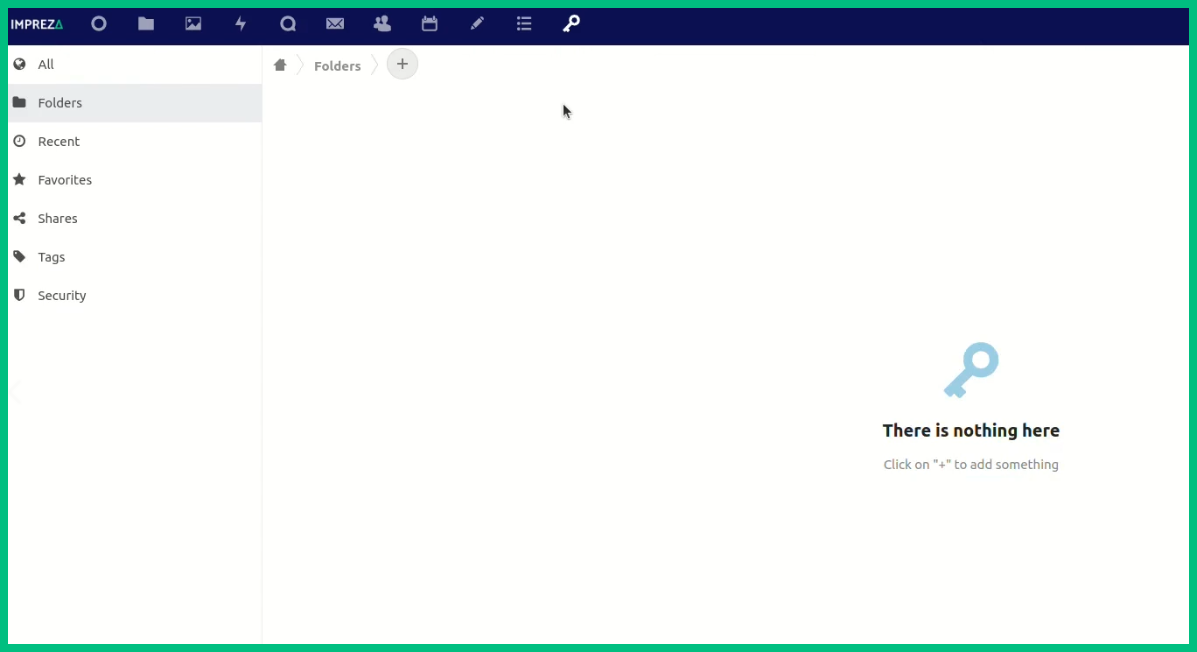
3- As you can see, it is empty. Let's set this up
4- Click on "+ More", then "Apps and Extensions"

Then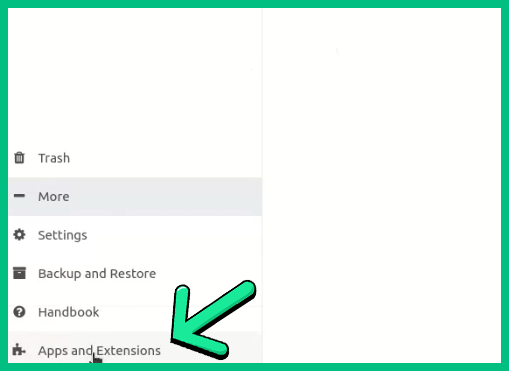
5- Now, download your Password Extension for your Browser, also, you can save them into your Android or iOS
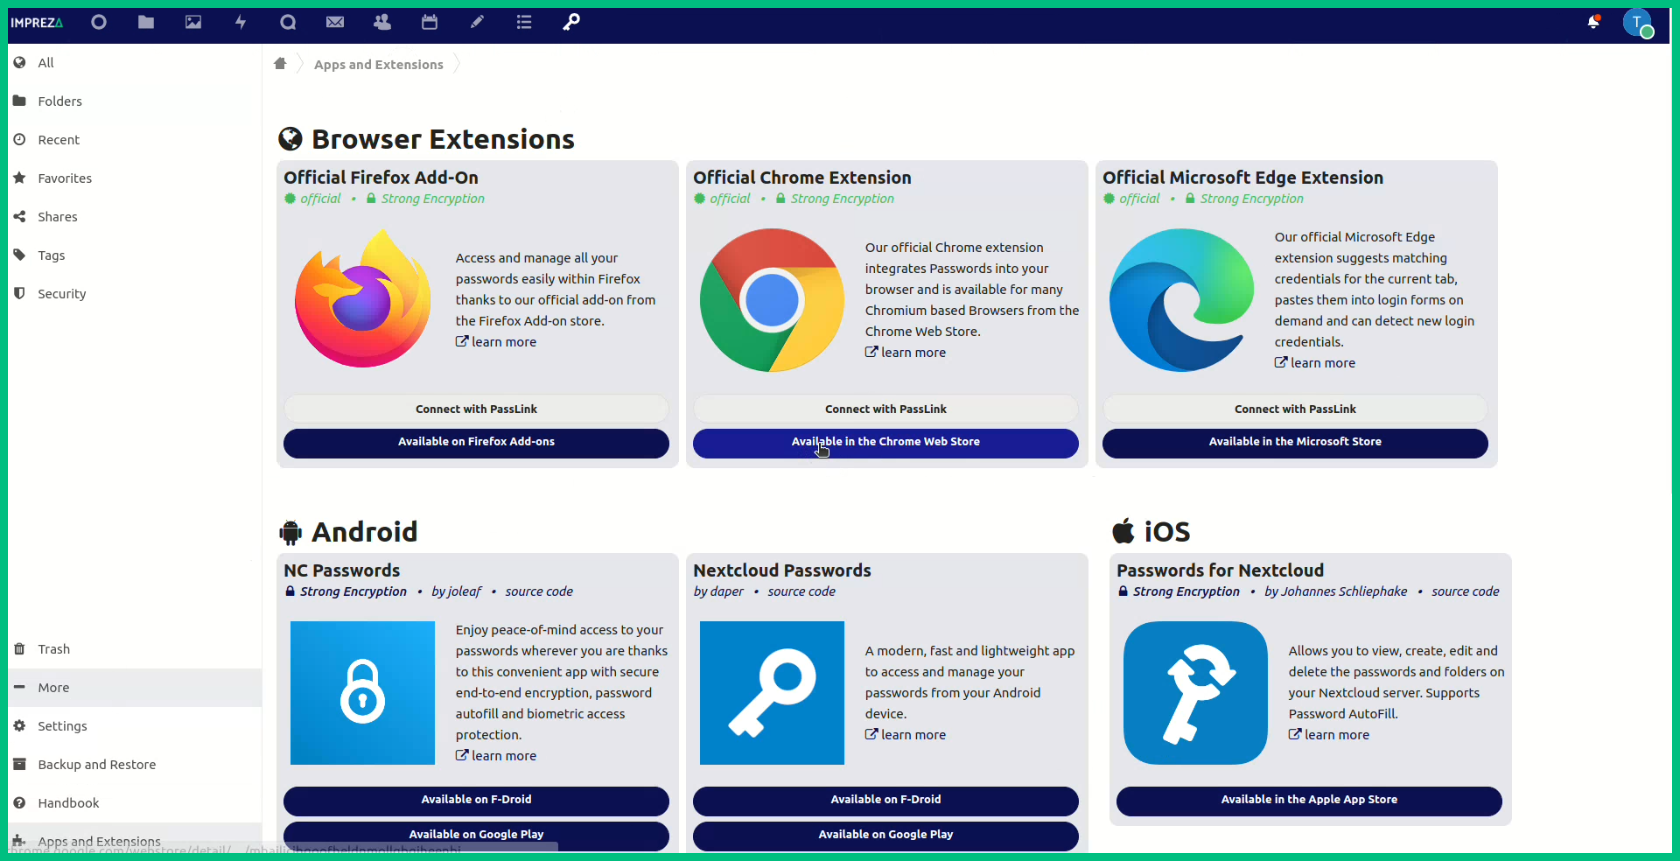
6- Install the extension into your Browser
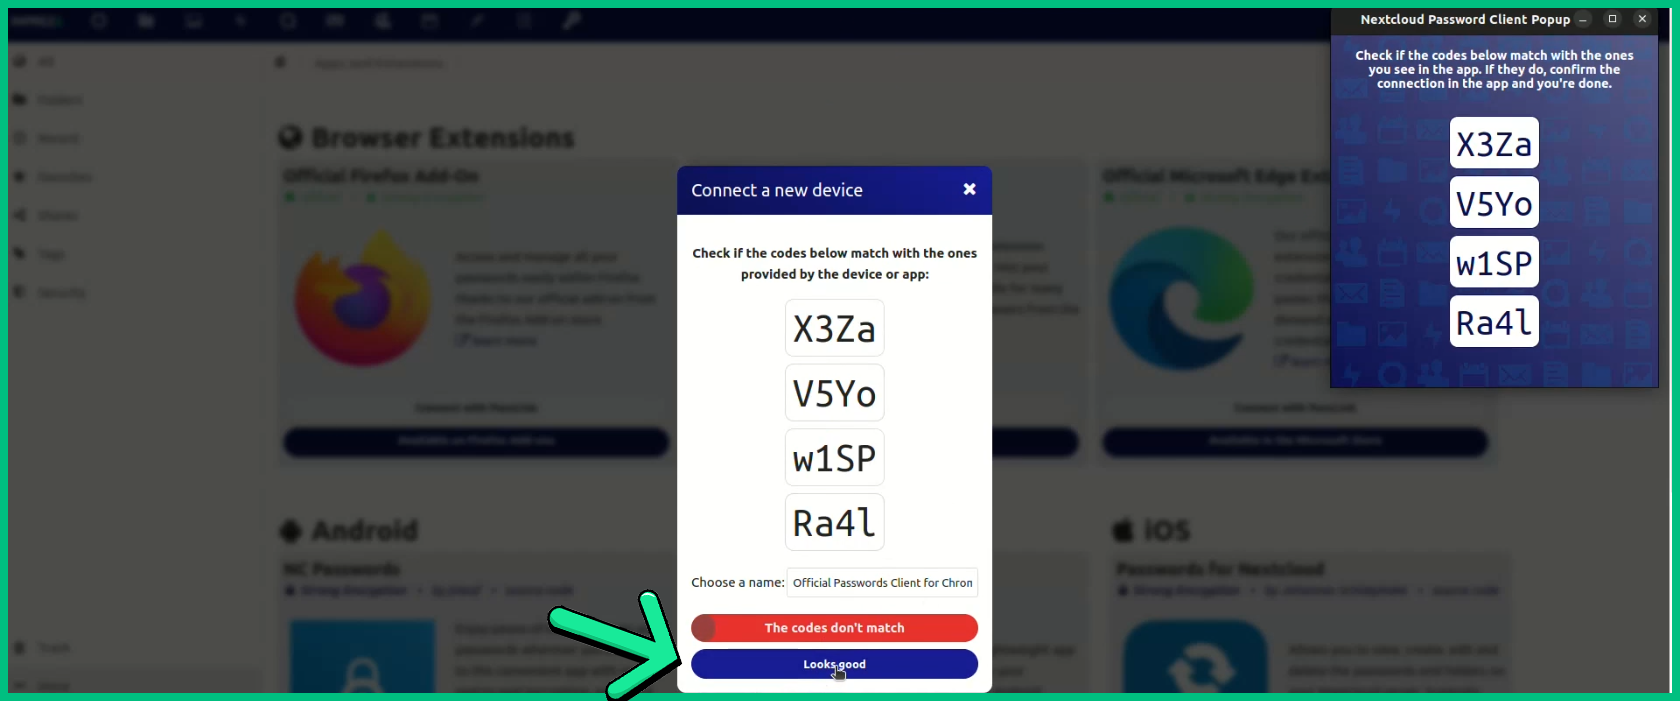
7- Then, back to your Drive, click on "Connect with PassLink" to connect your account to the Extension

8- As we won't use it on the Phone, click on "Connect via link"
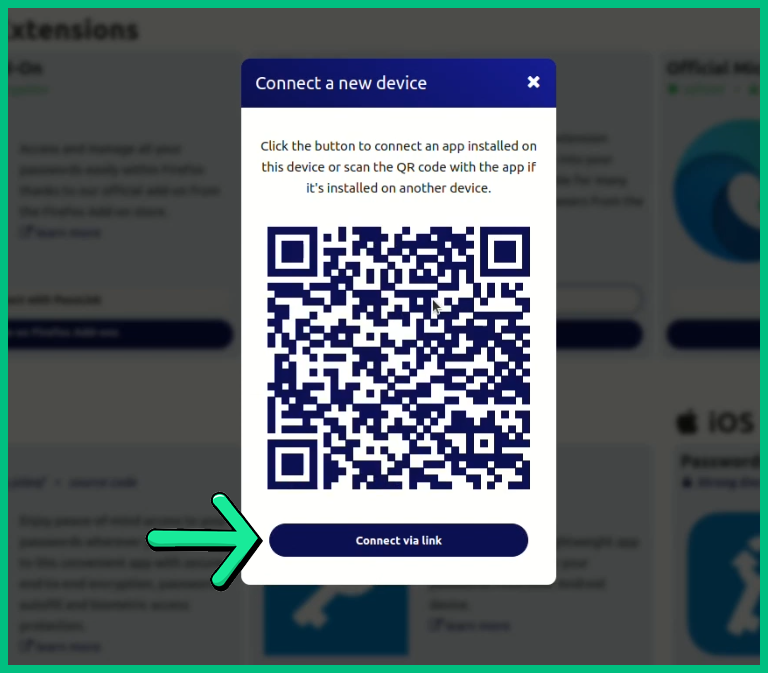
9- Now, if the codes are the same, click on "Looks Good" to connect it
10- Once the connection is working, let's test it!
11- To test it, we'll log out from our Drive, then re-login
To logout: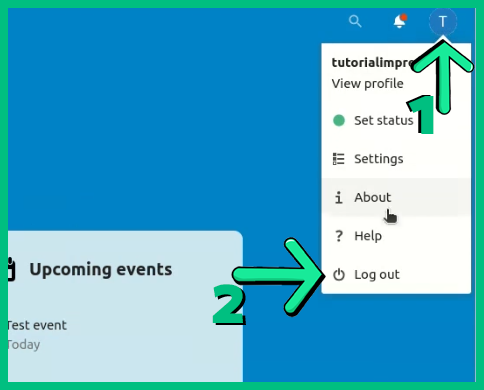
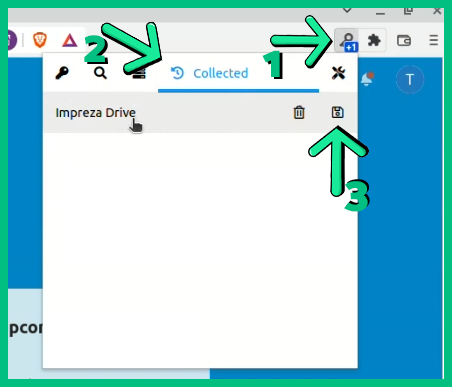
12- Now, open your Extension, click on "Collected" and save the password
13- Alright, now let's log out again to see if it works properly
14- Within the website you want to login, click on the "Suggestions", then it'll fill automatically the login
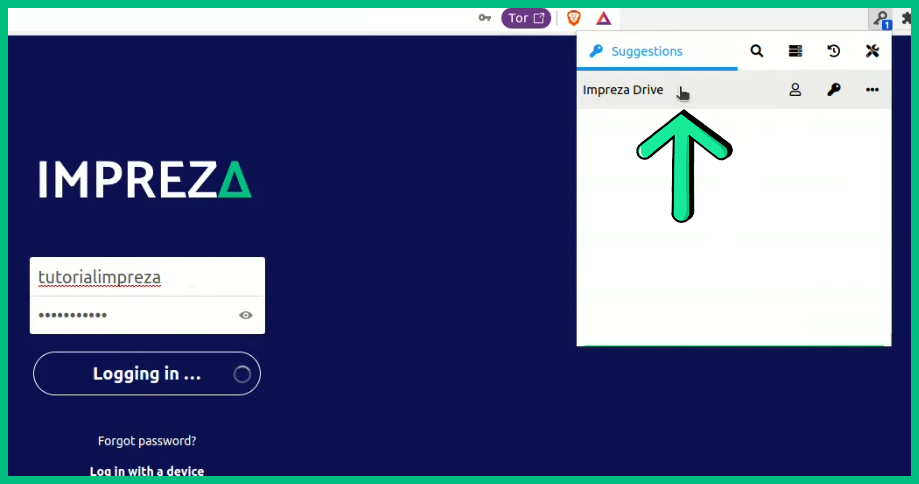
15- With this extension you can directly copy the password, or generate a new one anytime!
16- Also, within the Drive, your password will be saved in "Passwords>Folders", also you can see all Password Details you need by clicking on the Dots

More Details: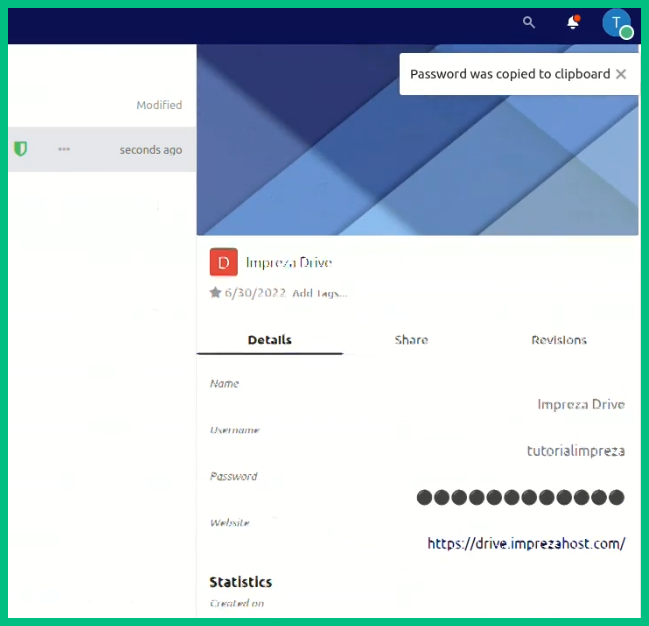
How to connect through the Tor Network
1- If you want, you can access your drive through the Tor Network
2- To access via Tor, enter the Drive page through Tor Browser
3- In here you'll notice this icon, just click on it
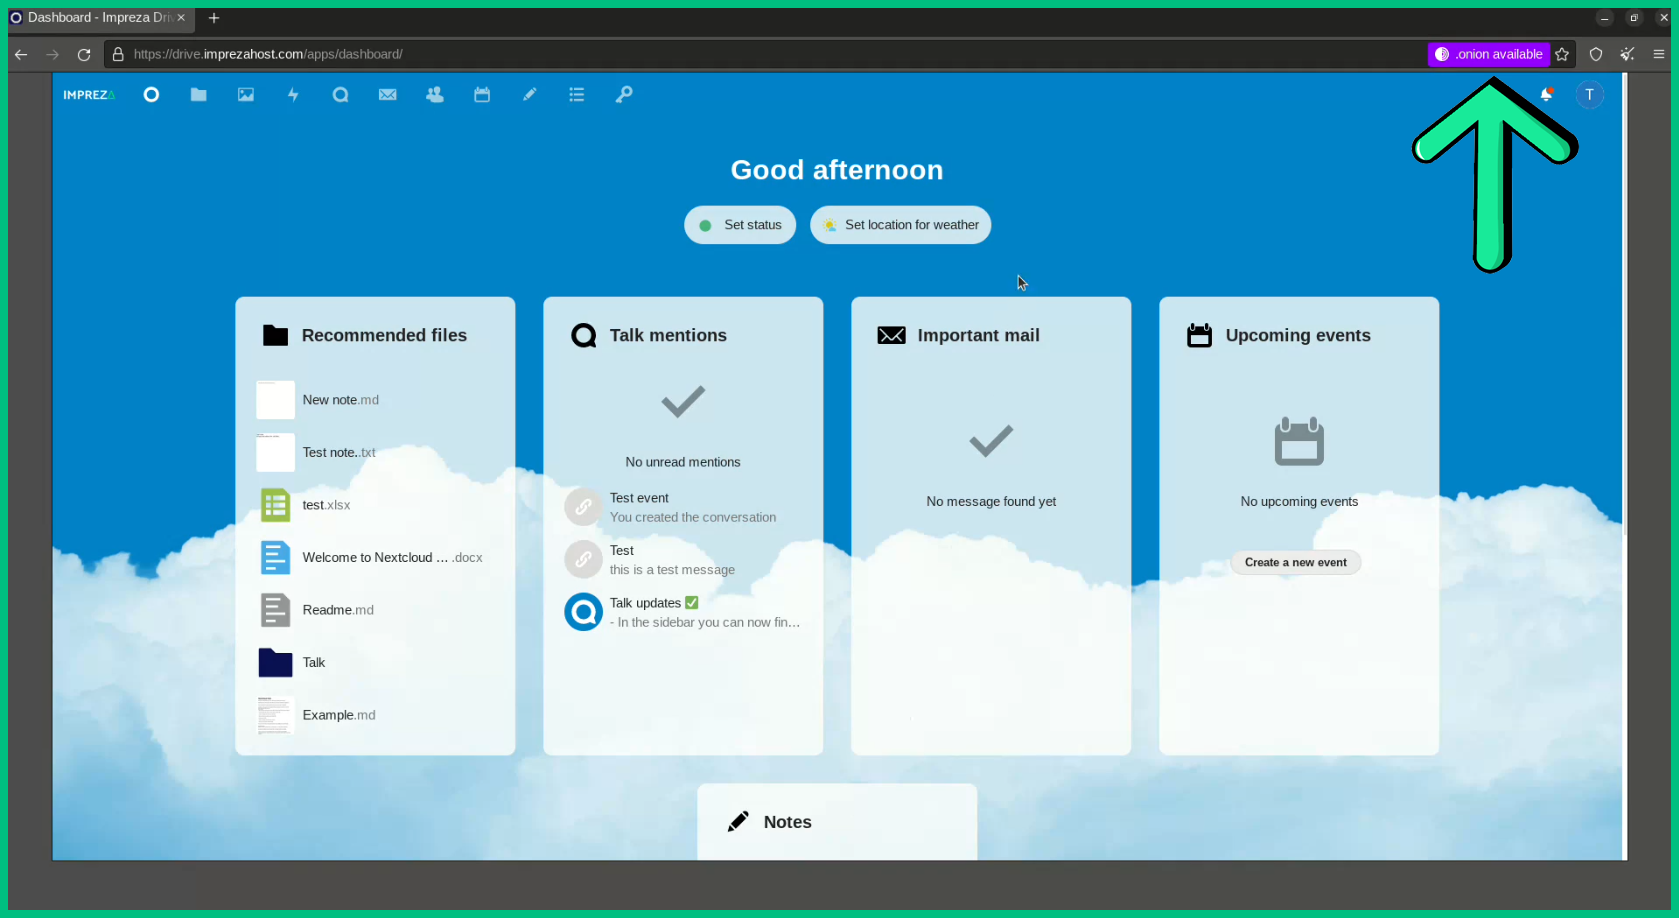
4- If this icon doesn't appear in your Browser, you'll need to go to the Ticket you received when you bought the Service
5- Now you can save this .onion URL to connect to your Drive whenever you want!
