Log in to cPanel
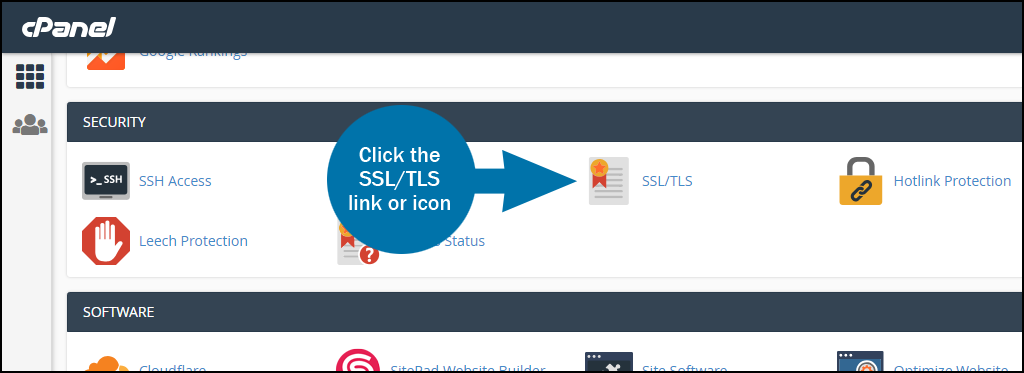
First of all, you must log in to your cPanel Account, and then open the SSL/TLS Manager:
In the “SECURITY” section, click the “SSL/TLS” link or icon.
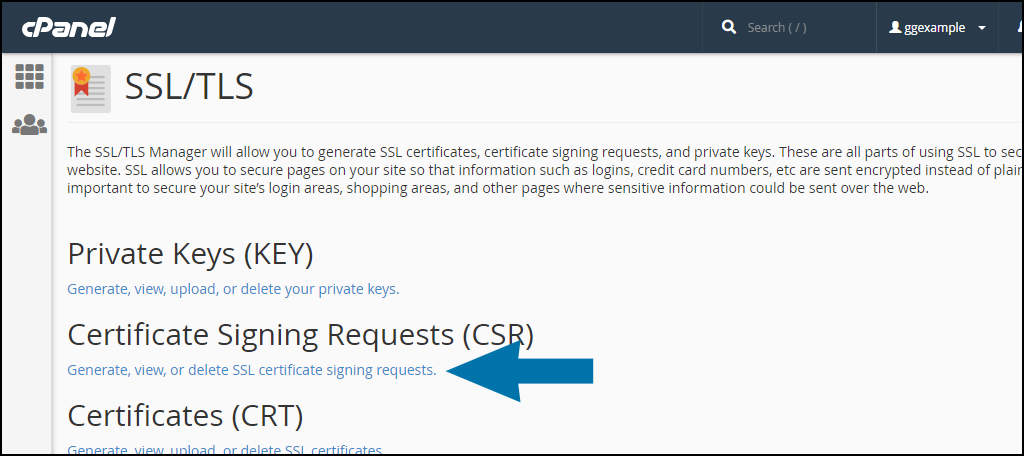
Under “Certificate Signing Requests (CSR),” click the “Generate, view, or delete SSL certificate signing requests” link.
Enter the information requested
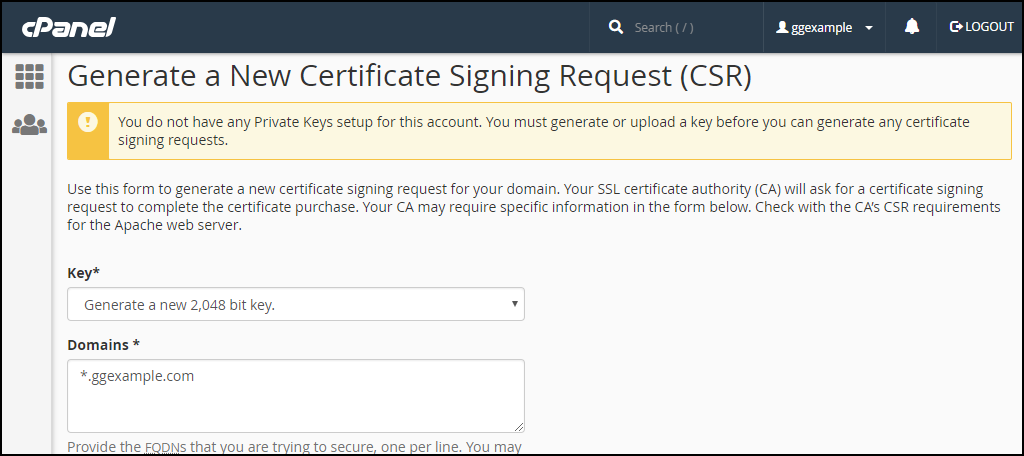
- Key – Select the default: “Generate a new 2,048-bit key.”
- Domains – List the domains you wish to secure, one per line. Use an asterisk for a wildcard domain (*.ggexample.com).
- City – Provide the complete name of the city or locality. Do not use abbreviations.
- State – Provide the complete name of the state or province. Do not use abbreviations.
- Country – Select your country from the drop-down list.
- Company – Provide the legally registered name for your business. If your company name includes symbols other than a period or comma, check with your certificate authority to confirm that they are acceptable.
The remainder of the fields—Company Division, Email, Passphrase, Description—are optional, so unless your certificate authority has a specific need or requirement for them, you can leave them blank.
When the form fields are complete, click the “Generate” button.
Copy the CSR
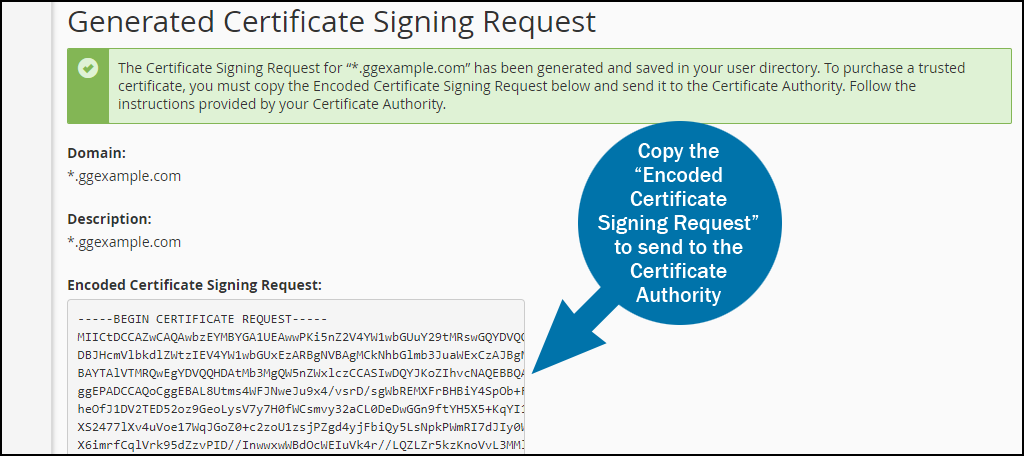
Copy the “Encoded Certificate Signing Request” and send it to the Certificate Authority that is issuing your SSL certificate.
Part two: Installing the certificate
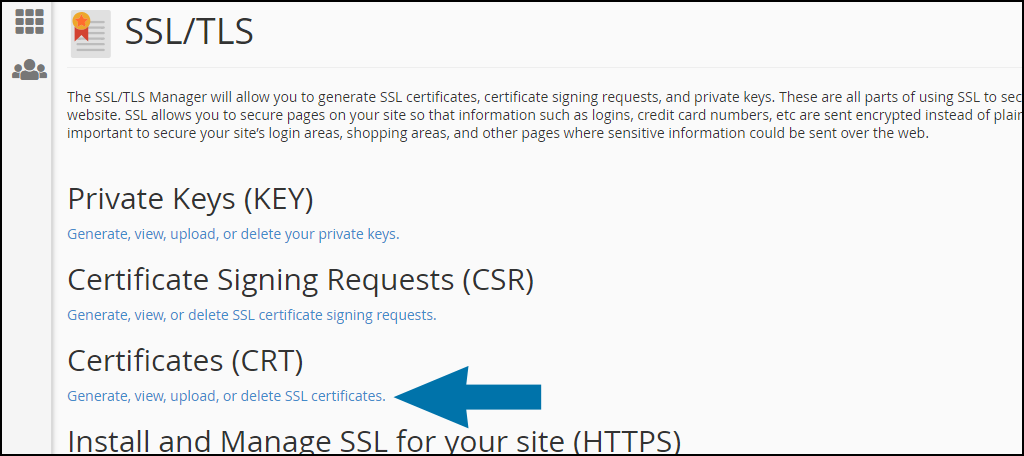
When your certificate (CERT/CRT) has been issued, go back to the “SECURITY” section of cPanel and click on the “SSL/TLS” link or icon.
Under “Certificates (CRT),” click the “Generate, view, upload, or delete SSL certificates” link.
There are two options available in the “Upload a New Certificate” section.
- First is “Paste the certificate into the following text box,” which you can use if the certificate has been sent in the body of an email.
- The second option, “Choose a certificate file (*.crt),” should be used if the certificate authority has sent you a .crt file.


