Hello, here we will show you how to Purchase and set up your Tor Domain through aaPanel.
Purchasing the Service
1- Inside our Website, go to "Tor Hosting"
2- Within the page, you have the Annually and the Monthly Plans
3- Once the plan is chosen you'll be in the Payment Section
4- Within it click on "Continue"
5- Done that, log in or Register yourself, then, click on "Checkout"
6- After that, choose your Payment Method, Accept our Terms of Service, and click on "Checkout" again
Receiving all Login Details
1- Now, once purchased you'll need to wait until the Server is ready
2- When ready, you'll receive a Ticket with all login details
3- Within the Impreza Portal, click on "Tickets"
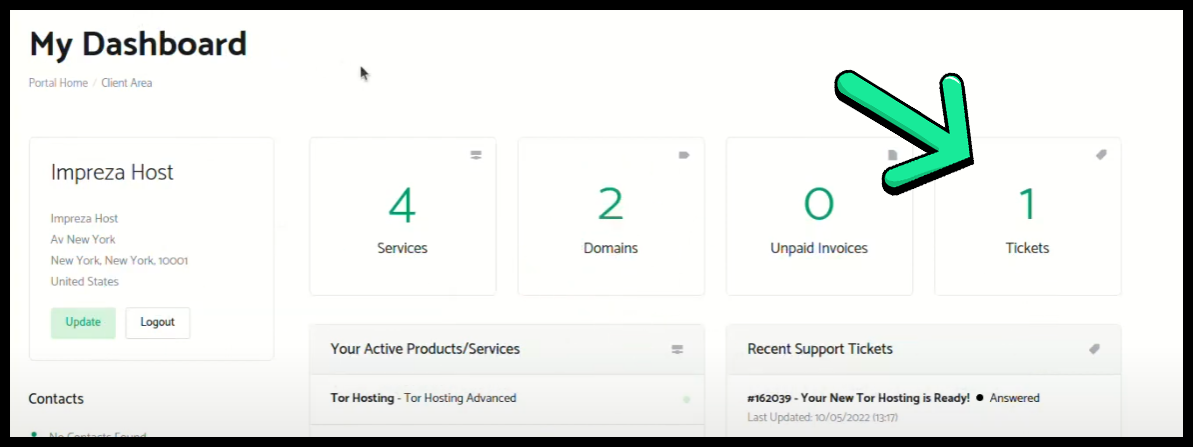
4- Inside it you'll see all the login details you need (Panel URL, Username, and Password)
Log into the Panel
1- With all information received, let's log into it
NOTE: If your URL isn't working, add "http://" at the beginning of the link

2- Within the Panel page, paste all received details to log in
3- Inside the panel you'll see all server information (RAM, CPU, Bandwidth, Storage, Software, etc...)
Checking our new Domain
1- Within your Panel, click on "Website" (on the menu at the left)
2- Here, click on your Domain, and a popup will open

3- And done, your domain will be here, you can copy it and connect
4- But as you can see, there is nothing in it at the moment

Installing WordPress
1- First of all, to install Wordpress, you need to download it from their website (https://wordpress.org/download/)
2- Done that, inside of your aaPanel, click on "Files"
3- Now, let's upload our WordPress, click on "Upload"
5- Once done it, with the Right click, click on the Wordpress file and extract it in here
6- Also, you can erase these files if you want
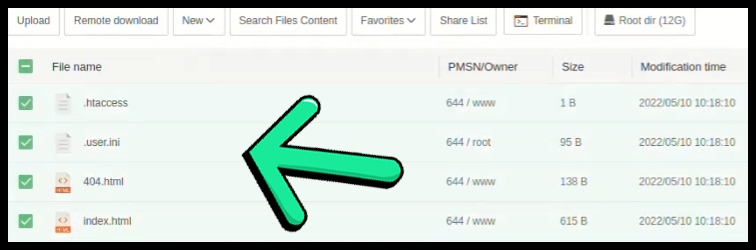
7- To delete them, click on "Del" at the superior right of your screen, then just confirm it
8- Now that your Wordpress is extracted, open the "Wordpress" file and move everything outside the file
9- Done that, connect to your website, and let's start our Wordpress installation
10- In the installation, choose the language you want and click on "Continue"
11- Here you'll notice that we'll need a Database to proceed with the installation

12- To do it, within your aaPanel, click on "Databases" in the menu
13- Here click on "Add Database"
14- Create the Database name, Username, and Password of it

15- Here we don't need to do any configuration of it, so, just click on "Submit"
16- Done that, click on "Let's go" within the Wordpress Installation
17- Now, paste all Database Details we created
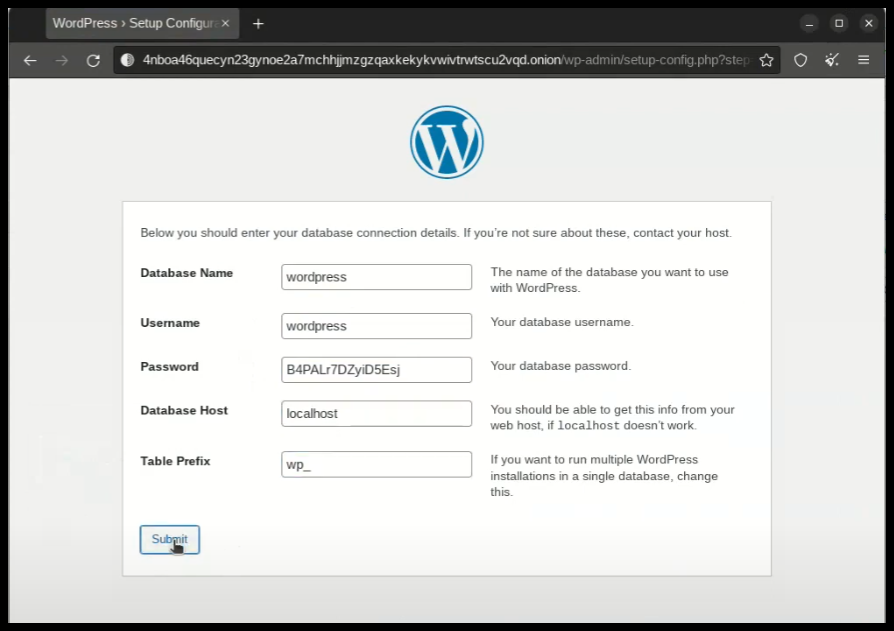
18- Done that, click on "Submit"
19- Now click on "Run the Installation"
20- Now we'll need to create our Admin Wordpress User
21- Once done, click on "Install Wordpress"
22- And Done! Our Wordpress is installed, click on "Log in"
23- Type the Admin user we created and click on "Log in" to use the Wordpress
Connecting through FTP
1- To do it, click on "FTP" inside of your aaPanel
2- Now, click on "Add FTP", then create a user to connect to it
3- Once done, note that your Host is already on the page

4- Done that, within your FTP app, paste all information
5- And there we go, our FTP should be working and ready to use
Creating a Backup for your Database and Website
1- Inside your aaPanel, click on "Cron"
2- In here, there will be a "Type of Task" options
3- Select the "Backup Site" to create a backup for your website
4- And here you can set up everything you want

5- Done that, click on "Add Task" to proceed with it
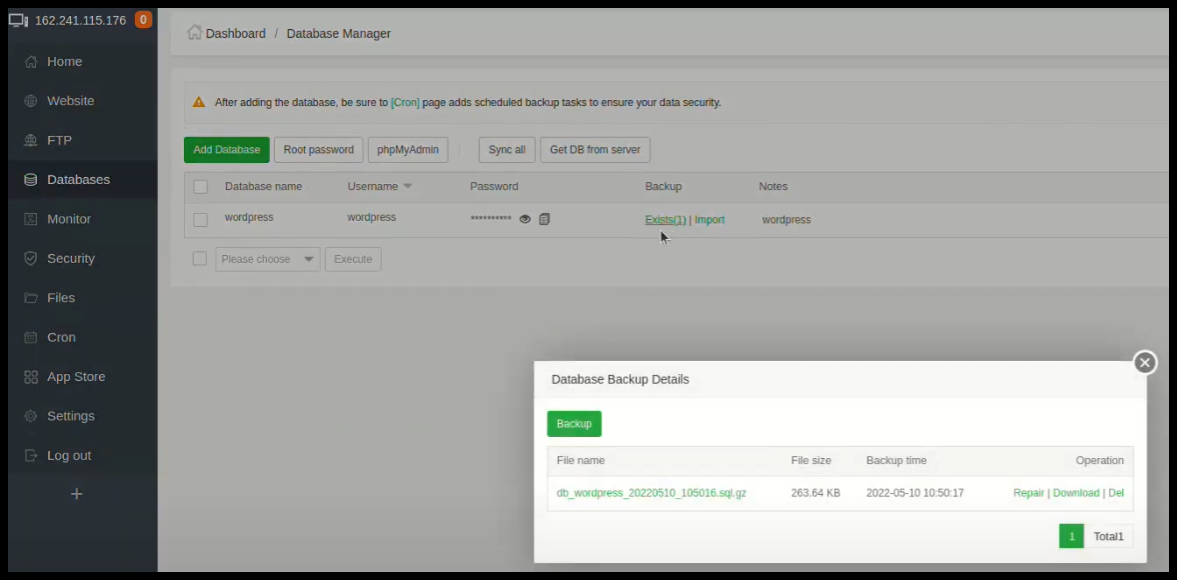
6- Now, in the "Type of Task", choose the "Backup Database"
7- And in here, do the same as before

8- Click on "Add Task" and here we go, our Backup is ready
9- Also, at the bottom of this page you can Execute, edit, or delete the created backups

10- Inside of "Website" we can Download, Restore, or Delete our backups either

11- It is the same for the Database, but within "Databases"
Setting Up the PHP
1- Within aaPanel, at the bottom, click on "PHP"
2- Here are all the configurable options we have
3- In this case, we'll install some Extensions, to do so click on "Install Extensions"
4- To install it is simple, just click on "Install" at the right, and done

5- You can install any needed extension you want
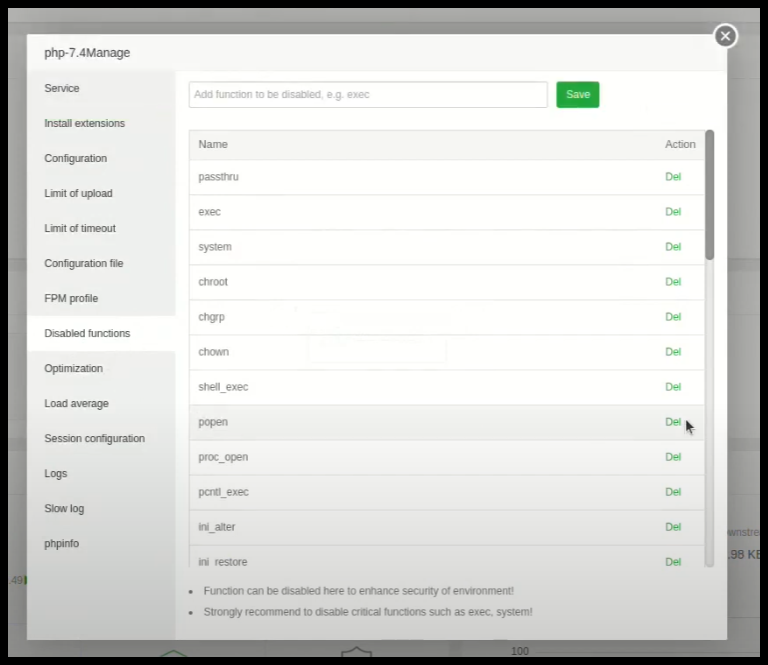
6- Now, let's check the "Disabled Functions"
7- Usually we use the "Putenv" and "Popen", but may change depending on what you'll use
8- To enable any of these functions, just click on "Del" at the right
9- Done that, now let's change our PHP Version
10- To do it, within the aaPanel, click on "App Store"
11- Here you'll have a lot of applications you may need

12- Within one of the Pages you'll find all the PHP Versions we have
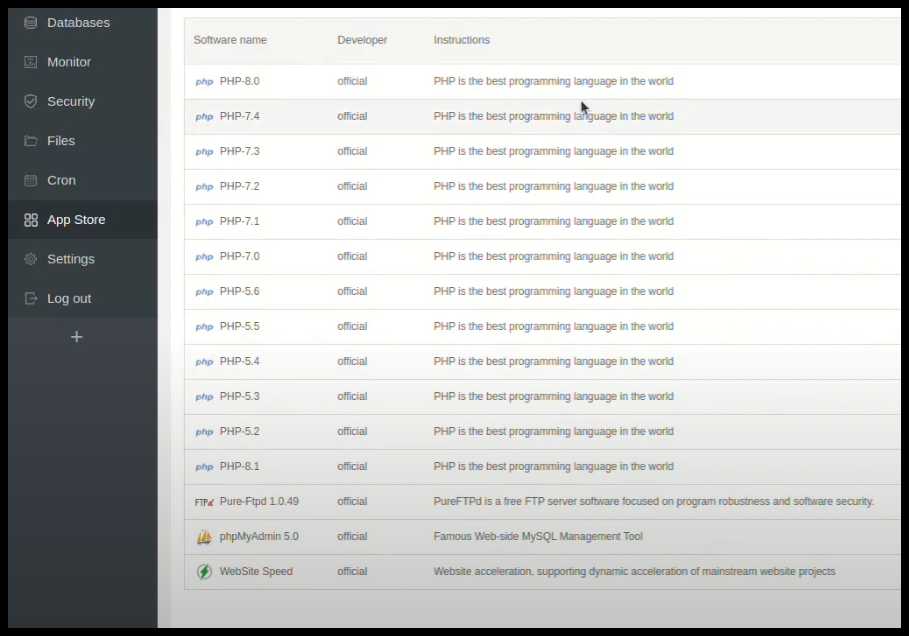
13- To install just click on "Install" at the right of the screen
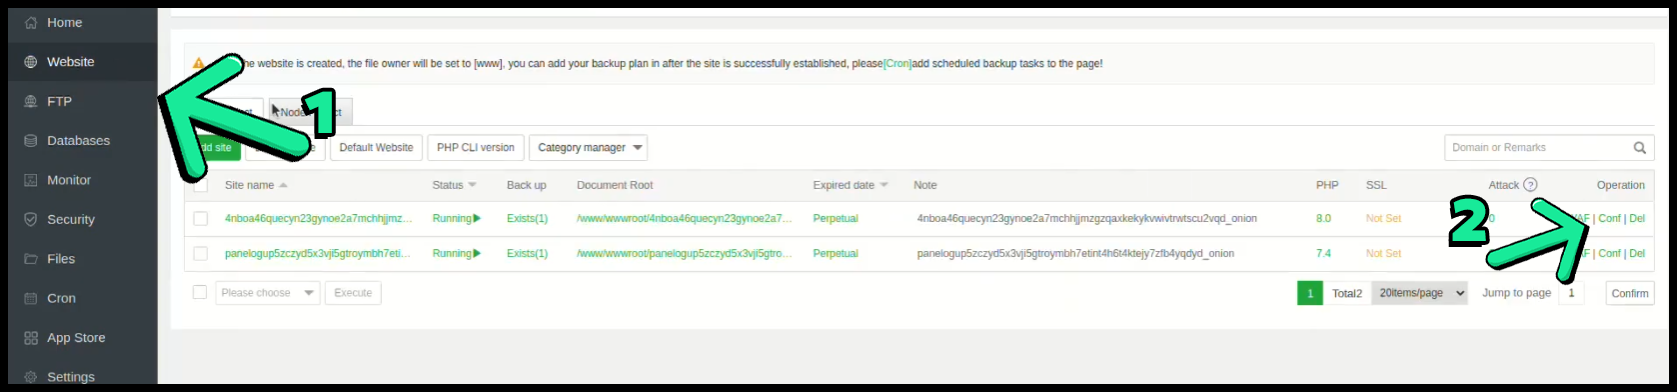
14- Now, to enable the installed version, go to "Website" within the aaPanel
15- Here, click on the PHP Version

16- Now you'll see the "PHP Version" tab, just click on it and choose the version you installed/need
17- Click on "Switch" and done, our PHP Version is installed
Extra settings you may need
1- You can change the Website Directory if you want
2- To do so, click on "Website" then "Conf"
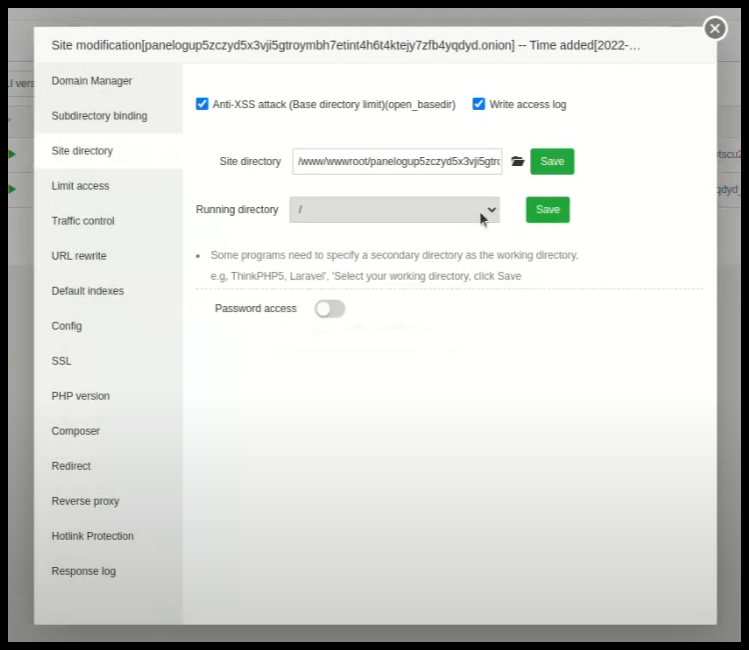
3- Now, click on "Site Directory"
4- Here you have all Directory options, once changed, click on "Save"
5- You can change your URL Rewrite either
6- Click on "URL Rewrite" then you'll see a tab, you can choose any Program Line you want

